Last updated November 22, 2026
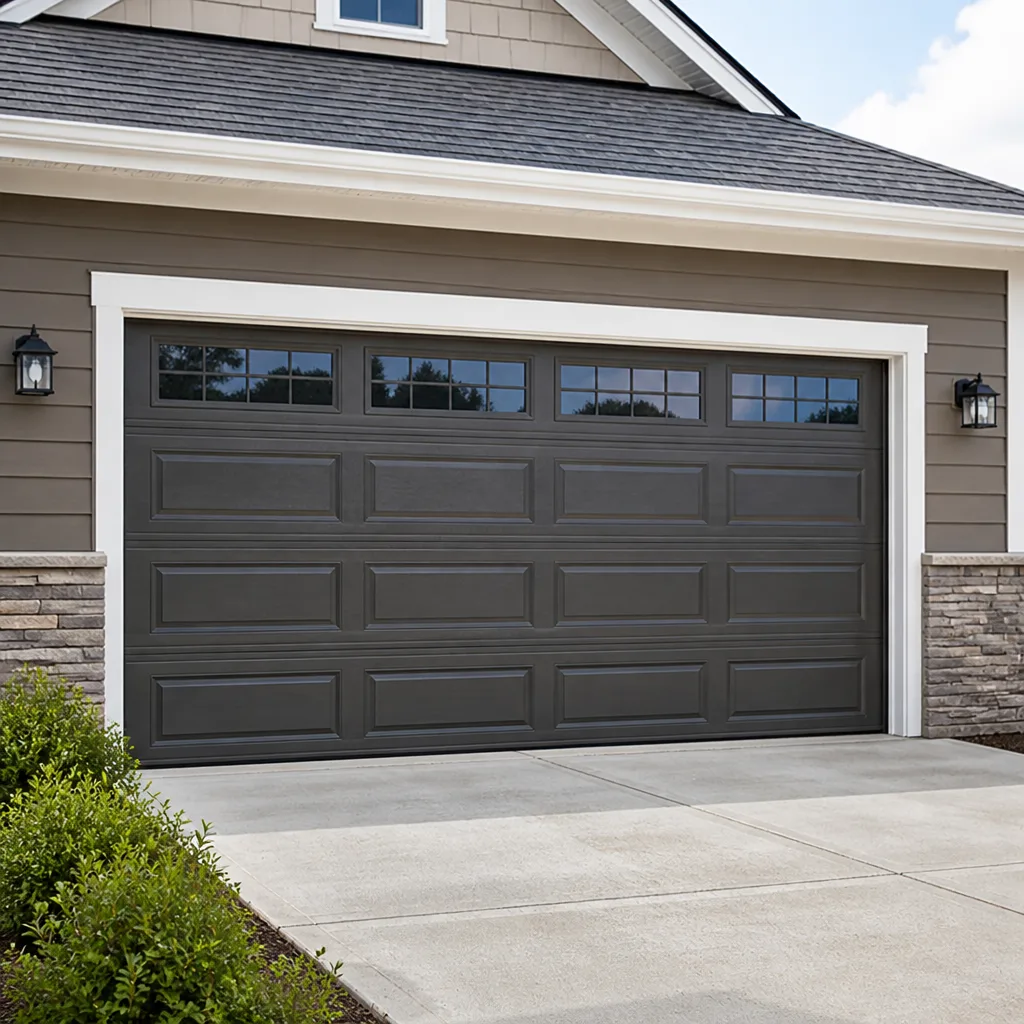 Raised-panel steel
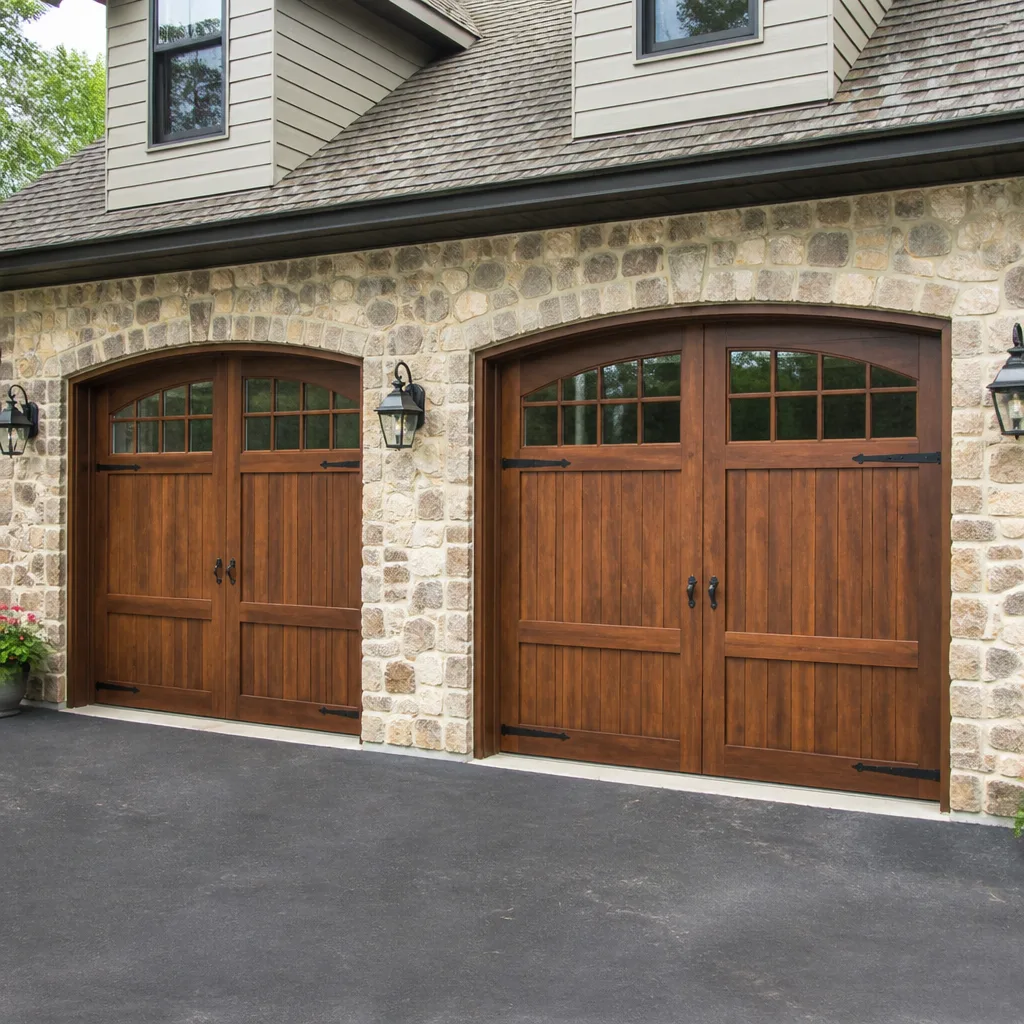 Carriage house
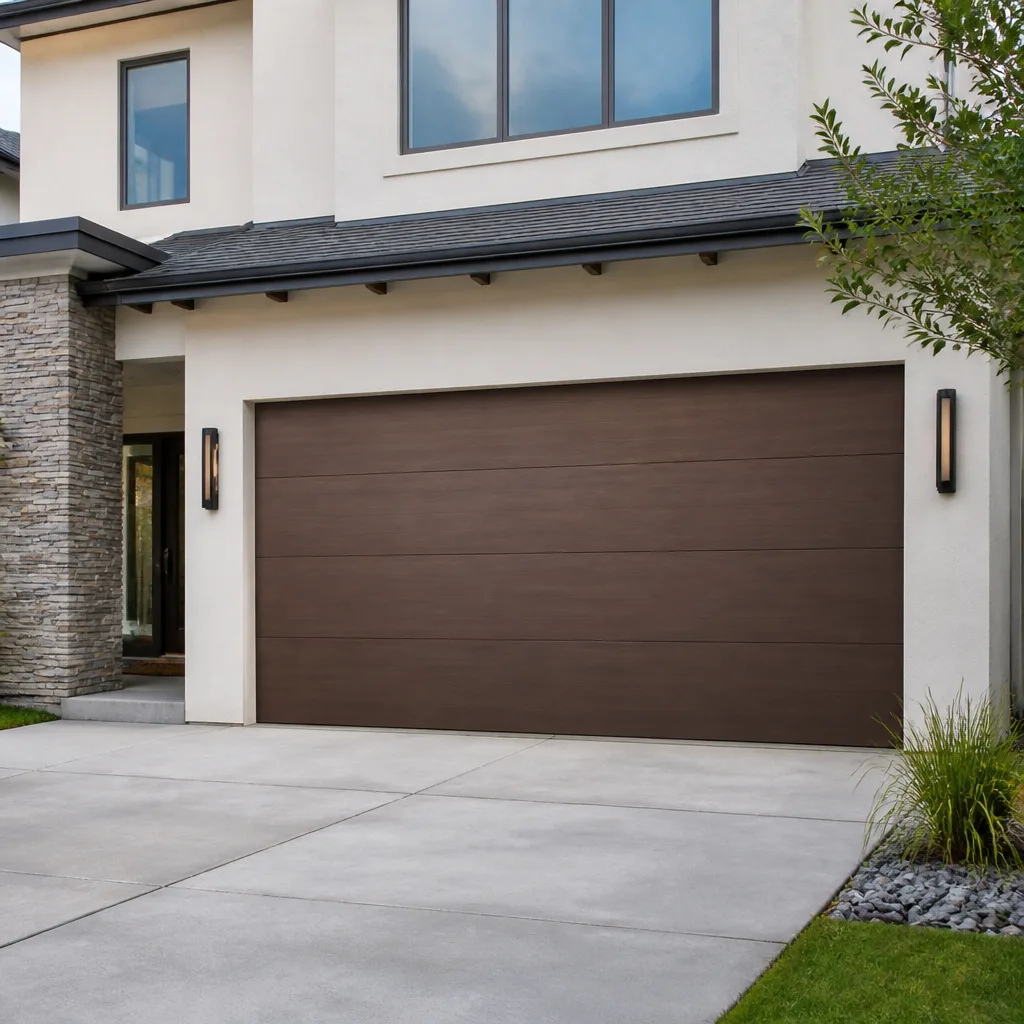 Modern flush
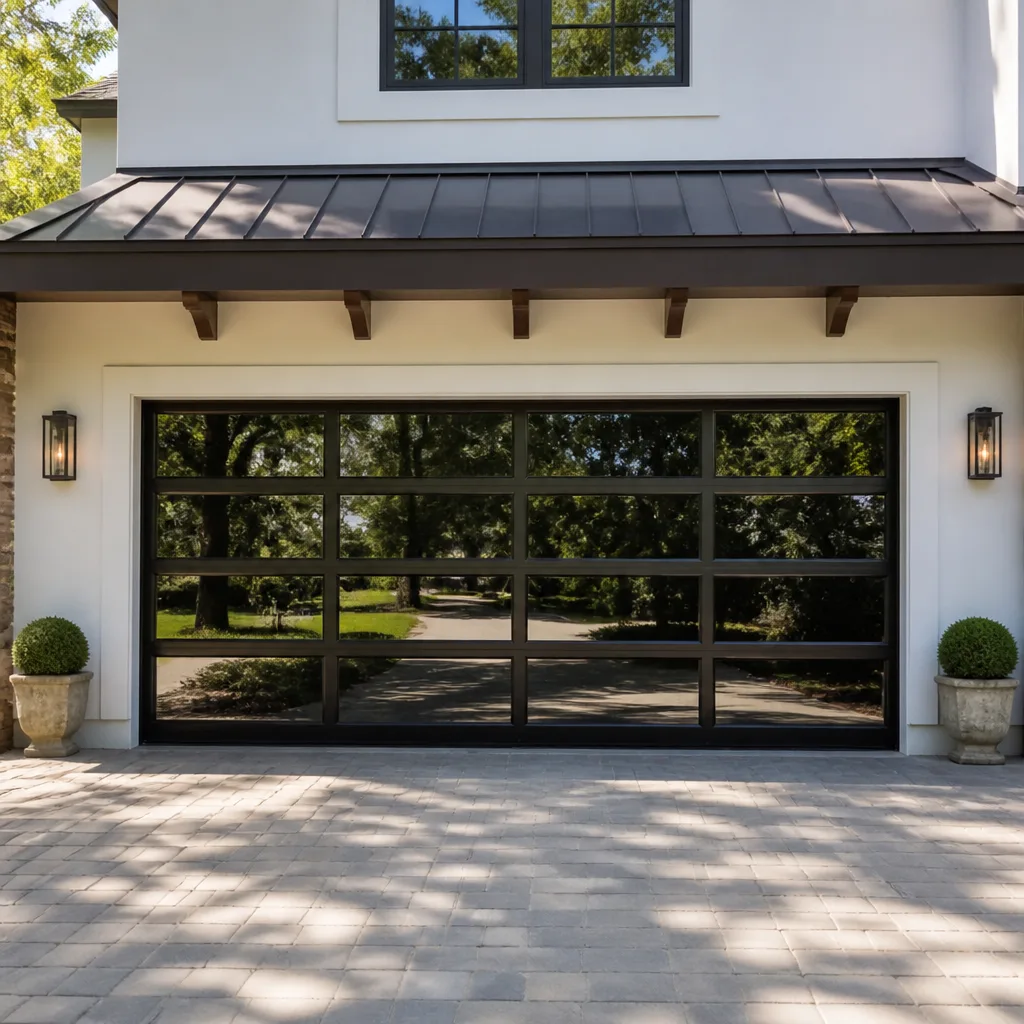 Full-view glass
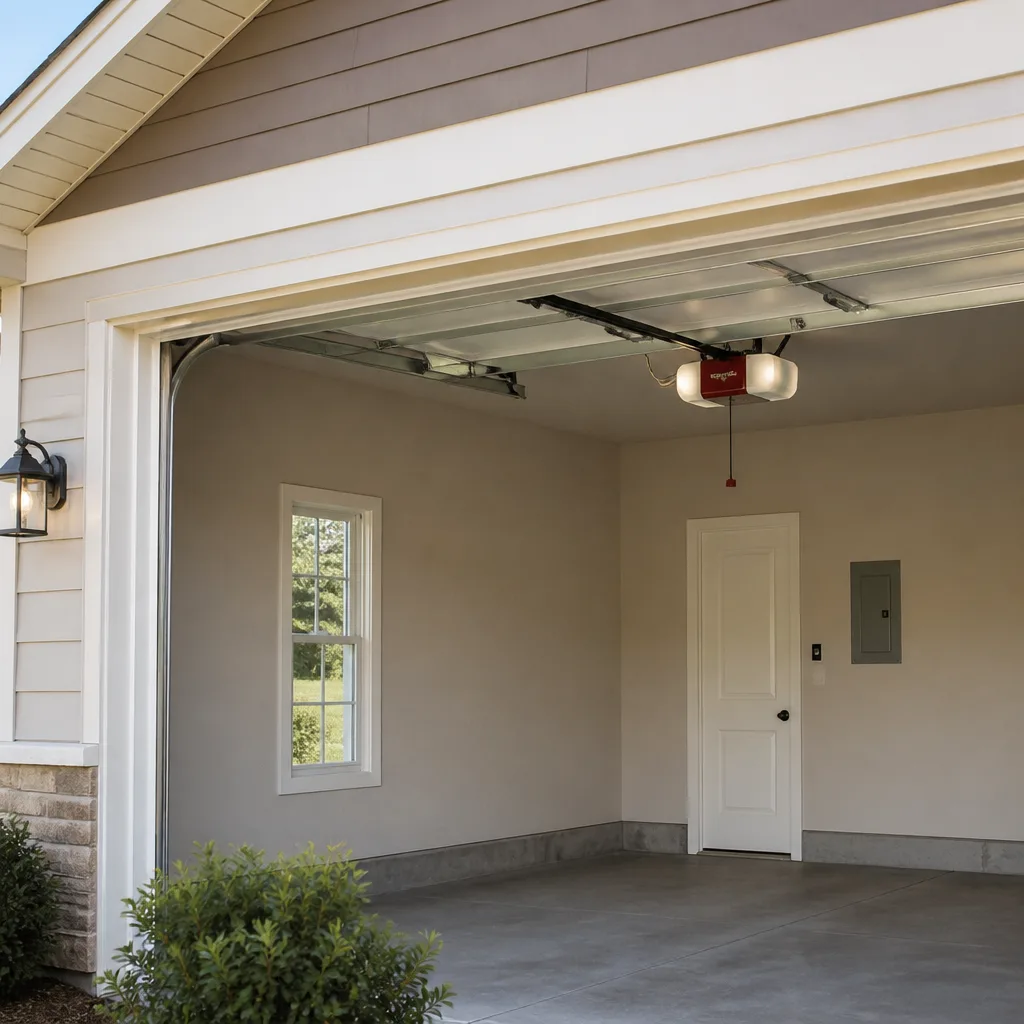 LiftMaster openers
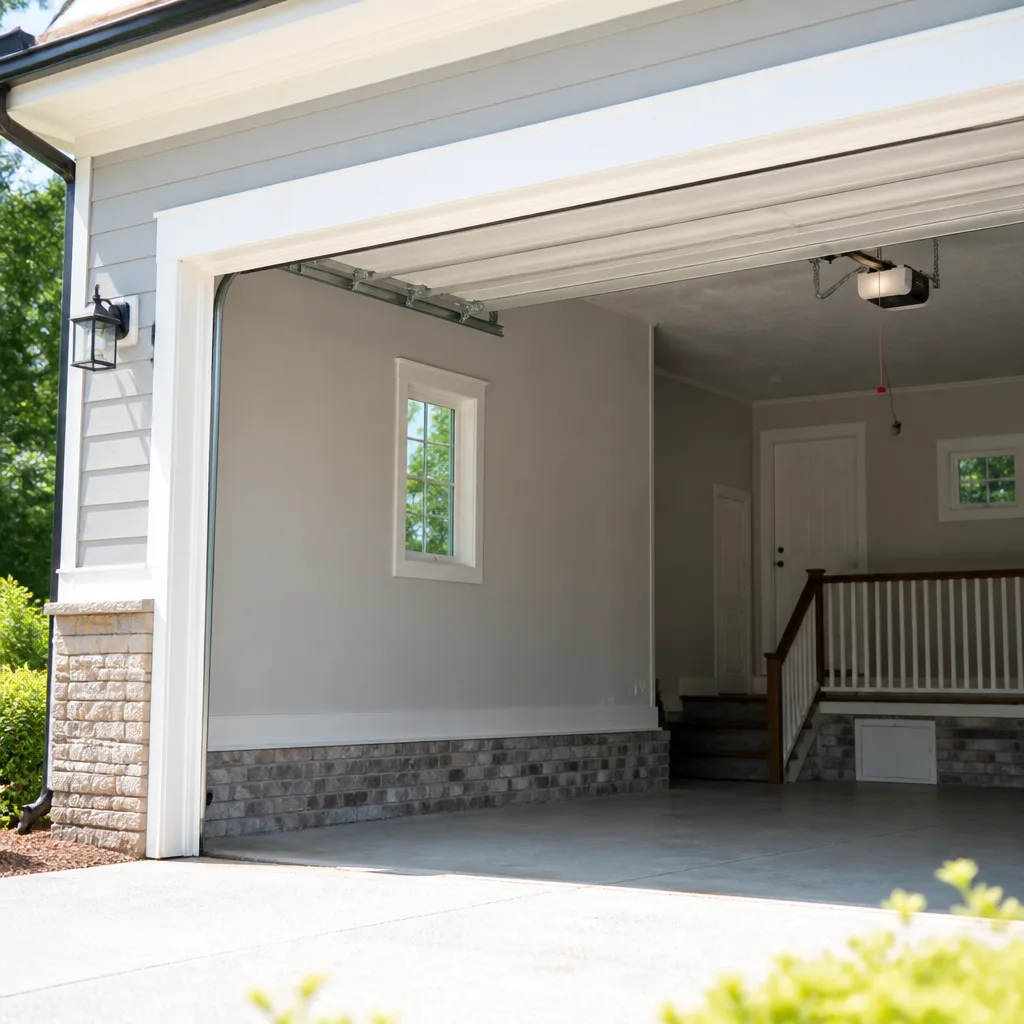 Chamberlain openers
Full 25-point door and opener safety check with every visit - springs, cables, rollers, tracks, and your LiftMaster or Chamberlain opener included
You get a price before we start. It does not change when the pro arrives.
Get your free estimateDIY vs Professional Garage Door: The Chesapeake Homeowner’s Decision Guide
Most articles on this topic pick a side before they read the question. Either every garage door task is a deadly trap, or a homeowner with a Saturday and a socket set can handle anything. Both are wrong, and the truth sits in the specific task. A torsion spring stores roughly 100 foot-pounds of torque when it’s wound, which is enough stored energy to break a wrist or worse if it lets go at the wrong moment. That doesn’t mean your garage is dangerous. It means you should be precise about which jobs belong to you and which belong to someone with training and proper tooling. This guide draws those lines task by task, with Chesapeake-specific context, so you can decide with your eyes open.
Quick Answer
Safe DIY garage door work in Chesapeake generally covers cleaning and painting panels, replacing bottom weather seals, lubricating hinges and rollers, and reprogramming remotes or keypads. Torsion spring replacement, cable work, and track realignment belong to trained technicians, because the stored energy and tension in those parts can seriously injure an untrained person. Everything else – opener diagnostics, panel damage, strange noises – depends on what you find, and a free estimate is the cheapest way to find out.
Styles & brands we work with
- Raised-panel steel
- Carriage house
- Modern flush
- Full-view glass
- LiftMaster openers
- Chamberlain openers
Table of Contents
- How the Decision Tree Works
- Tasks That Are Genuinely Safe to Do Yourself
- Why Torsion Springs and Cables Are Different
- The Half-DIY Approach: Buying Your Own Door Panel
- Virginia Liability and Homeowner’s Insurance
- A Honest Look at YouTube Tutorials
- Heat, Humidity, and Chesapeake’s Garage Environment
- Openers: What You Can Adjust and What You Shouldn’t
How the Decision Tree Works
Think of every garage door job as falling into three risk tiers, not two. Tier one is maintenance: low energy, low consequence, fully reversible. Tier two is diagnosis and light adjustment: no stored tension, but a mistake costs a part or an afternoon. Tier three is spring, cable, and track work: stored energy, real injury potential, and no margin for a wrong guess. The tiers don’t map neatly to “easy” and “hard.” They map to what the part does when it fails.
A weather seal is tier one because if you install it crooked, the door still closes and nothing moves under tension. A torsion spring is tier three because it’s wound to counterbalance the door’s weight, and if a winding bar slips out of the cone under load, the spring releases that stored energy immediately. There’s no partial failure and no warning. That’s the distinction that matters, and it’s the one most DIY-versus-pro discussions skip entirely.
We work on garage doors across Chesapeake, and the pattern that repeats is homeowners who correctly self-diagnose a maintenance issue, then misclassify a spring problem as the same kind of job because both live on the same door. They’re not the same kind of job. One is a gasket. The other is a tension device holding hundreds of pounds of door weight.
A simple way to sort a job before you touch it
- Ask what stores energy in this part. If the answer is “nothing,” you’re probably in tier one.
- Ask what happens if the part fails while you’re holding it. If the answer involves fast-moving metal, stop.
- Ask whether a wrong result can be undone in an afternoon. If not, it’s tier three.
- Ask whether the manufacturer’s warranty depends on professional installation. If it might, price that in before buying parts.
That four-question sort covers most of what lands on a homeowner’s to-do list. Everything below works through those tiers in detail.
Tasks That Are Genuinely Safe to Do Yourself
We’re a garage door company, so it may surprise you that we hand a real list of DIY work to Chesapeake homeowners without hesitation. These tasks are safe, they save money, and doing them well genuinely extends the life of your door. Here’s the honest list.
Cleaning and repainting panels
Steel and aluminum panels collect grime, pollen, and the dust that blows around in a Chesapeake summer. Wash with mild soap and water, rinse, let dry fully, then repaint with a product rated for exterior metal. One caution for steel doors: don’t paint over rust without sanding it back first, or you’re sealing moisture under the new coating and speeding up the decay. Clopay and Amarr both publish paint guidance for their door finishes, and it’s worth matching your product to their recommendation rather than guessing.
Replacing the bottom weather seal
The bottom seal is the rubber strip along the lowest panel, and it’s the single most common wear item on a door that sees daily use. It slides or pulls out of its retainer, and a replacement of the right profile feeds back in. If the seal is torn, brittle, or leaving daylight under the closed door, replacing it stops drafts, water intrusion, and the small pest problem that follows a gap. This is genuinely a homeowner job, and it takes less time than driving to buy the seal.
Lubricating hinges, rollers, and springs
A garage door that groans or squeals is usually dry at the pivot points. A silicone-based or lithium lubricant on the hinges, roller stems, and bearing plates quiets most of it. Don’t spray lubricant on the tracks themselves – the door needs those clean and dry to track correctly. Do this twice a year, and your door runs quieter and the opener motor works less. Wayne Dalton and Genie both call for regular lubrication in their owner materials, and it’s the cheapest maintenance you’ll ever do.
Programming remotes and keypads
Adding or re-pairing a remote or reprogramming a wall keypad is a manual-reading task, not a technical one. Every major brand has a defined sequence – usually a learn button on the opener head and a button press on the remote. The one thing that trips people up is that opener models from the same brand can use different frequencies, so match the remote to the opener model rather than to the brand alone. If you’ve lost the manual, most manufacturers post it online by model number.
Testing the safety reverse
Place a roll of paper towels or a piece of wood under the closing door. The door should reverse when it contacts it. If it doesn’t, stop using the opener until it’s corrected. That test is free, takes a minute, and catches a genuinely dangerous fault early.
Everything on that list is tier one or the shallow end of tier two. None of it stores tension, and none of it can hurt you if you make a mistake.
Why Torsion Springs and Cables Are Different
A torsion spring is a tightly wound coil of steel that counterbalances the weight of your door. When a technician winds it, they’re loading energy into that coil so it can lift hundreds of pounds with the light pull of your hand. The tooling is specific: two winding bars of the correct diameter, inserted into the winding cone, used in alternation to build and release tension in controlled increments. There’s no way to improvise that with a screwdriver and a pair of pliers, and the people who try find out why the hard way.
What goes wrong, precisely:
- Winding bars slip out of the cone. The bars are held by friction and hand pressure. A slip under full load releases the spring’s stored torque, and the bar – or the spring itself – becomes a fast-moving object.
- The wrong bar diameter fits loosely. A bar that doesn’t seat fully in the cone can rotate out under load. Under-tensioned fit is where most injuries start.
- The door is in the wrong position. Springs are wound with the door fully open or fully closed depending on setup. Winding in the wrong position loads the assembly incorrectly and can release the door’s weight against the mechanism.
- Old springs snap unpredictably. A fatigued spring can fail during the winding process itself, not after it. That’s the failure mode nobody plans for.
Cables are worse in one respect: they carry the door’s weight in tension along their length. A cable that’s under load and comes free of its drum or bracket whips, and the drum itself is heavy steel. Cable replacement and track realignment both sit in tier three for that reason.
Here’s the practical takeaway: a broken spring usually leaves your door stuck closed or held up by the opener alone, which is a failure the opener isn’t built for. If that happens in Chesapeake, calling for garage door repair is the safe move, because the technician arrives with the right bars, the right spring for your door’s weight and cycle rating, and the knowledge of how to balance the door after replacement. We’ve seen homeowners buy the correct spring, install it, and then discover the door won’t stay at half-open because the new spring needs the same precise tensioning the old one had. The spring is the expensive part; getting the tension right is the skilled part.
The Half-DIY Approach: Buying Your Own Door Panel
The middle path – sourcing parts yourself and hiring a pro for the labor – works well for some jobs and badly for others. On a garage door, the split is fairly clean: opener parts and hardware, buy from the pro; a replacement door or panel, source it yourself and hire a technician to install it, provided you understand what it does to your warranty.
When sourcing your own panel works
If you’re replacing a single damaged panel on a sectional door, ordering the panel directly from the manufacturer by model and color is often faster and cheaper than having it sourced for you. You know your door model (it’s usually on a sticker inside the door or on the panels), and most manufacturers make replacement panels for doors that are still in production. Once the panel arrives, a technician installs it, aligns the hinges and rollers, and rebalances the door. You’ve bought the part; you’ve hired the skill.
When it creates problems
- Warranty voids: Most manufacturers’ finish and structural warranties are conditional on correct installation. An installation performed by someone other than a qualified technician can void the finish warranty, especially if panel seals aren’t fitted correctly.
- Mismatched panels: Panels are made in specific profiles, embossments, and gauges. An aftermarket panel that looks close can leave daylight gaps, misalign the hinges, or make the door bind.
- Weight changes: A heavier or lighter panel than the original changes the balance of the whole door. The springs were sized for the original panel, so the door may need spring adjustment after the swap – which is tier three work, not a DIY follow-up.
- Color and texture drift: Even factory colors shift between production runs. If your door is more than a few years old, the new panel may not match exactly. On a Clopay or Amarr door with a textured finish, that mismatch shows.
The pattern holds across brands. On a Wayne Dalton or Genie setup, the same logic applies: the hardware and the install belong to someone who does it daily; the part itself can legitimately be yours. When you’re pricing this out, ask for a written quote that separates labor from parts, so you can see exactly what you’re saving and what you’re risking.
For full door replacement rather than a single panel, the same split works. We cover that process in our guide to garage door installation, including how a free measure and a written price come together before anything is ordered.
Virginia Liability and Homeowner’s Insurance
If you do garage door work yourself and it later causes an injury or property damage, your exposure in Virginia is real but specific. This isn’t a scare story; it’s the shape of the risk, and it’s worth understanding before you pick up a wrench.
Under Virginia law, a homeowner generally owes a duty of reasonable care to people who come onto the property – guests, visitors, and anyone acting on the homeowner’s behalf. If a garage door you repaired or installed yourself fails and injures someone, or damages a vehicle, the question becomes whether your work met that reasonable-care standard. Improper spring winding, a loose cable, or a track you adjusted and then left misaligned all fall into that category, and a court can look at whether the work was done to a recognized standard. That’s not a hypothetical hazard; it’s the standard liability analysis a homeowner’s policy responds to.
Homeowner’s insurance typically treats self-performed garage door work in one of two ways, depending on the policy:
- Property damage: Most standard homeowner’s policies cover damage to your own property from faulty workmanship in some circumstances, but many specifically exclude damage caused by your own faulty workmanship. Read your policy’s exclusions section before assuming you’re covered.
- Liability to others: Personal liability coverage usually responds when your work injures someone else or damages their property, but an insurer can deny or limit a claim if the work violated a code or was performed negligently.
The practical version of this is shorter. Documented, professional work creates a paper trail. DIY work with no record doesn’t. If an insurance company asks who performed the installation and there’s no invoice, that conversation gets harder. For a Chesapeake homeowner with a rental unit or a door facing the street where kids play, that distinction has real weight. If you’re unsure how a policy treats this, ask your agent directly rather than relying on a forum answer.
We’re not attorneys, and this isn’t legal advice. But when we’re asked whether it’s “worth” paying for a technician, the honest answer sometimes is that the labor cost is partly a liability record, not just a fix.
An Honest Look at YouTube Tutorials
We’ve watched a lot of homeowner DIY attempts, and the tutorials behind them fall into distinct quality bands. If you’re going to use video guidance, sort them like this.
Tutorial categories that are genuinely reliable
- Weather seal replacement, where the video matches your seal profile. Watch for the retainer type, not just the seal brand.
- Remote and keypad programming, provided the video is for your exact opener model. Model mismatch is the most common failure here.
- Lubrication and cleaning, where the advice is generic and low-risk.
- Testing safety reverse and photo-eye alignment, which are diagnostic and safe to follow.
Tutorial categories that routinely generate callbacks
- Spring replacement, because video can show a winding process but can’t give you the feel for how much tension is too much, or a second set of hands for balance checks. The tutorials that skip the door-balance step after replacement are the worst offenders.
- Cable replacement, for the same reason, plus the fact that the winding drum must be reset correctly or the door will run crooked and bind.
- Opener travel and force limit adjustment, because a tutorial can walk you through the menu but can’t tell you whether your door’s binding justifies a force limit change or whether the opener head unit needs replacing. Homeowners who “fix” a binding door by raising the force limit are setting up the opener to force through a mechanical problem, and the result is a stripped gear or a snapped opener arm.
- Track adjustment, because tracks are supposed to be plumb, level, and evenly spaced, and eyeballing that is how doors come off their rollers.
The pattern: video is good for tasks with a defined single outcome and bad for tasks with a diagnostic judgment built in. Our garage door opener repair calls often trace back to a force-limit adjustment that was meant to fix a binding door and didn’t. The binding was the problem; the force limit was a symptom, and the video solved the wrong one.
If a tutorial is your only option at the moment and the job is tier three, wait and call. We’d rather be the call you didn’t need to make.
Heat, Humidity, and Chesapeake’s Garage Environment
Chesapeake’s summers are humid and hot, and that combination does specific things to garage door components over a season. None of it requires a pro for the maintenance side, but it’s worth knowing what to watch.
What the humidity does
Steel panels, hinges, and springs all live in an environment with high summer humidity. Condensation forms on cold metal overnight and evaporates by afternoon, and that cycle repeats daily. Over time it shows up as surface rust on hinge pivots and light corrosion at the panel seams. The mitigation is the lubrication routine already covered and a wipe-down of the bottom panel and seals after a wet stretch. Springs don’t fail from rust alone, but a rusty spring is a fatigued spring, and fatigue is what eventually breaks it. If a spring is visibly pitted, get it looked at before it fails.
What the heat does
Garage interior temperatures climb in July and August. Rubber seals soften and can flatten out, and the bottom seal on a door that sits in direct afternoon sun will show it by mid-summer. That’s the tire-kick test for your bottom seal: if the rubber is permanently compressed and leaving a gap, it’s due. Opener gears are geared for normal operating temperature, and a garage that bakes all day can wear the plastic gears in older openers faster than a shaded one. If your opener sounds rough on the first few cycles of a hot afternoon, that’s usually why.
What the wet season does
Heavy rain and wind-driven storms push water against the bottom seal and the door’s lower panels. A seal that’s torn or flattened lets water in and, over time, damages the door’s paint and the bottom panel. Replacing the seal before storm season is a cheap DIY job; dealing with a rusted bottom panel is not. This is the one seasonal habit we’d put at the top of any Chesapeake homeowner’s list.
None of this is exotic. It’s the routine maintenance an owner can do without a technician, and it’s the reason your door lasts. If you want the once-over that catches the parts you can’t see, we’ll quote you a free estimate before anything is touched.
Openers: What You Can Adjust and What You Shouldn’t
Openers are where the DIY line gets muddy, because the adjustments look programmable and are, in fact, programmable. Here’s where we’d draw it for a Chesapeake homeowner.
Safe to do yourself: programming remotes and keypads, changing the battery in the safety sensor’s transmitter, cleaning the photo-eye lenses, and matching a new remote to the opener’s learn button. These are all defined tasks with defined outcomes, and if you get one wrong, nothing is under tension.
Leave to a technician: travel limit adjustment, force limit adjustment, opener gear and sprocket replacement, and any diagnosis of an opener that “sometimes” works. Travel limits determine where the door stops; get them wrong and the door can hit the header, damage the panel, or reverse before it’s down. Force limits decide how hard the opener pushes through resistance; turn them up to fix a binding door and you’ve masked the problem and put a strain on the opener’s gearbox. “Sometimes” failures are the hardest, because they usually indicate a combination – a binding door plus a tired opener – that a homeowner can’t easily isolate.
Genie and Chamberlain opener manuals all contain the travel and force adjustment steps, and they’re honestly written. The problem isn’t that a homeowner can’t follow them; it’s that the manual can’t tell you whether the symptom you’re treating is the diagnosis you need. That’s the judgment piece, and it’s what a garage door specialist brings. If your opener is older and you’re considering a replacement, that’s a job we’d schedule rather than rush – a new opener needs the door’s balance checked first, because a new, stronger opener on a binding door will just fail faster. Our technicians have up to 13 years of experience with the full range of Genie, Chamberlain, LiftMaster, and Craftsman units, so the diagnosis starts from the brand’s known quirks, not a guess.
Common Mistakes to Avoid
- Treating a spring problem as a hardware problem. Buying the correct spring online and then winding it without a second set of winding bars and a balance check is the single most common way DIYers get hurt. The spring is the easy part to buy and the hard part to install.
- Turning up the force limit to fix a binding door. This makes the opener push through a mechanical fault instead of fixing it, and it’s how gearboxes get stripped. If the door binds, find the bind.
- Voiding a warranty to save an afternoon. Most finish and structural warranties on Clopay and Amarr doors are conditional on correct installation, and a self-installed panel or door with no technician sign-off can void the finish claim. Check the warranty before you decide.
- Skipping the safety reverse test. A door that closes on an object and doesn’t reverse is a genuine hazard, especially on a Chesapeake street where kids use the driveway. Test it, and don’t use the opener until it’s fixed.
- Installing a weather seal in the wrong profile. A seal that doesn’t match the retainer leaves the door leaking and the seal peeling off in the first storm. Match the retainer, not just the door width.
- Letting a visibly rusted spring keep working. Rust is a sign of fatigue, not just appearance. If a spring is pitted and the door feels heavy, don’t wait for it to break on its own schedule.
- Ignoring a twisting door. A door that runs crooked or comes off its rollers is a track problem with a real failure risk. It’s not a door to “keep using until it stops.”
See the difference
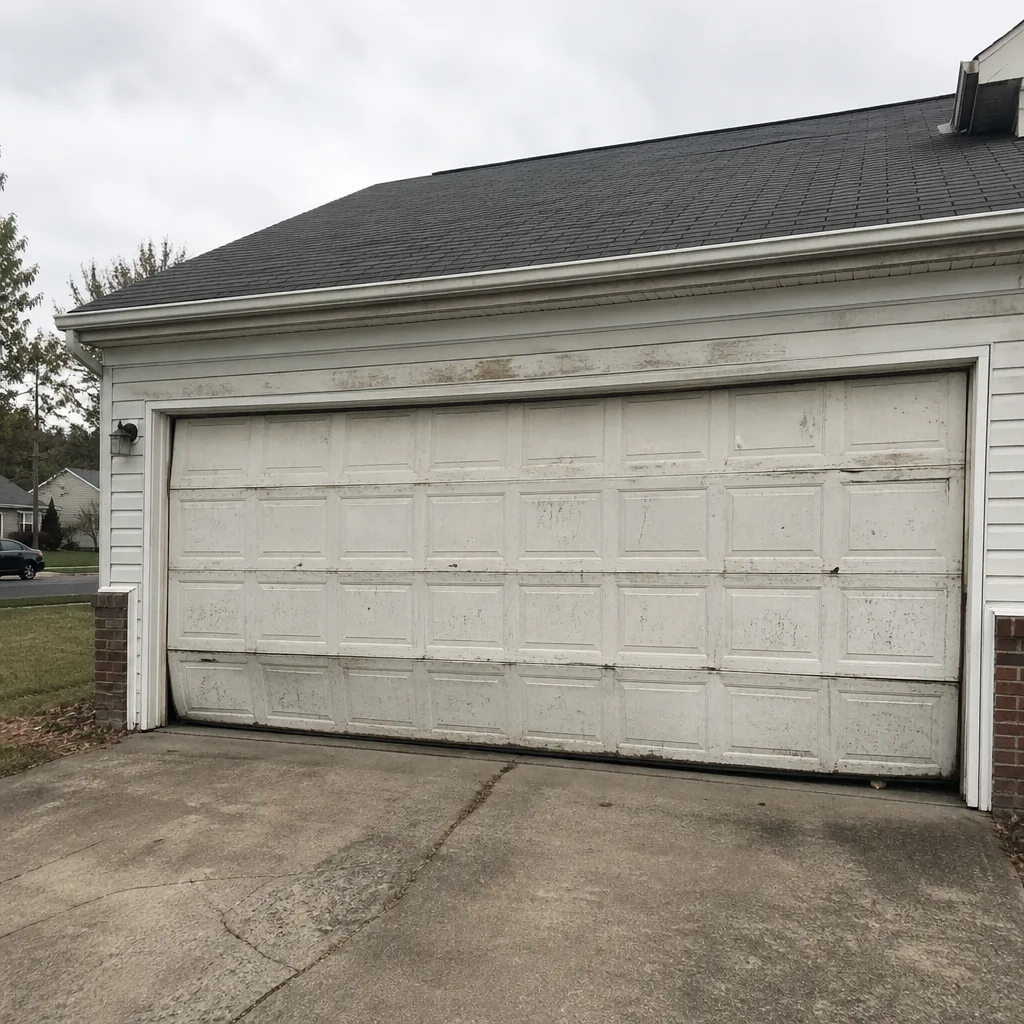 Before
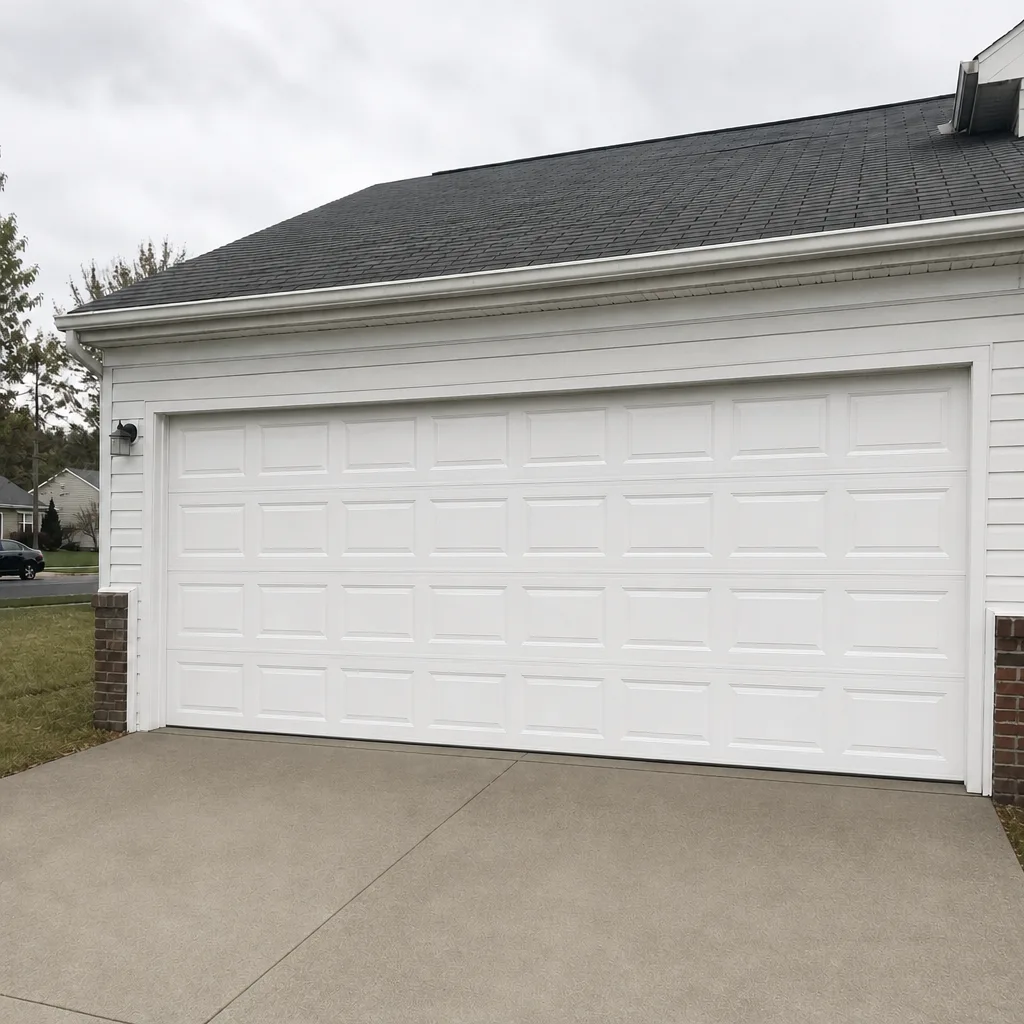 After
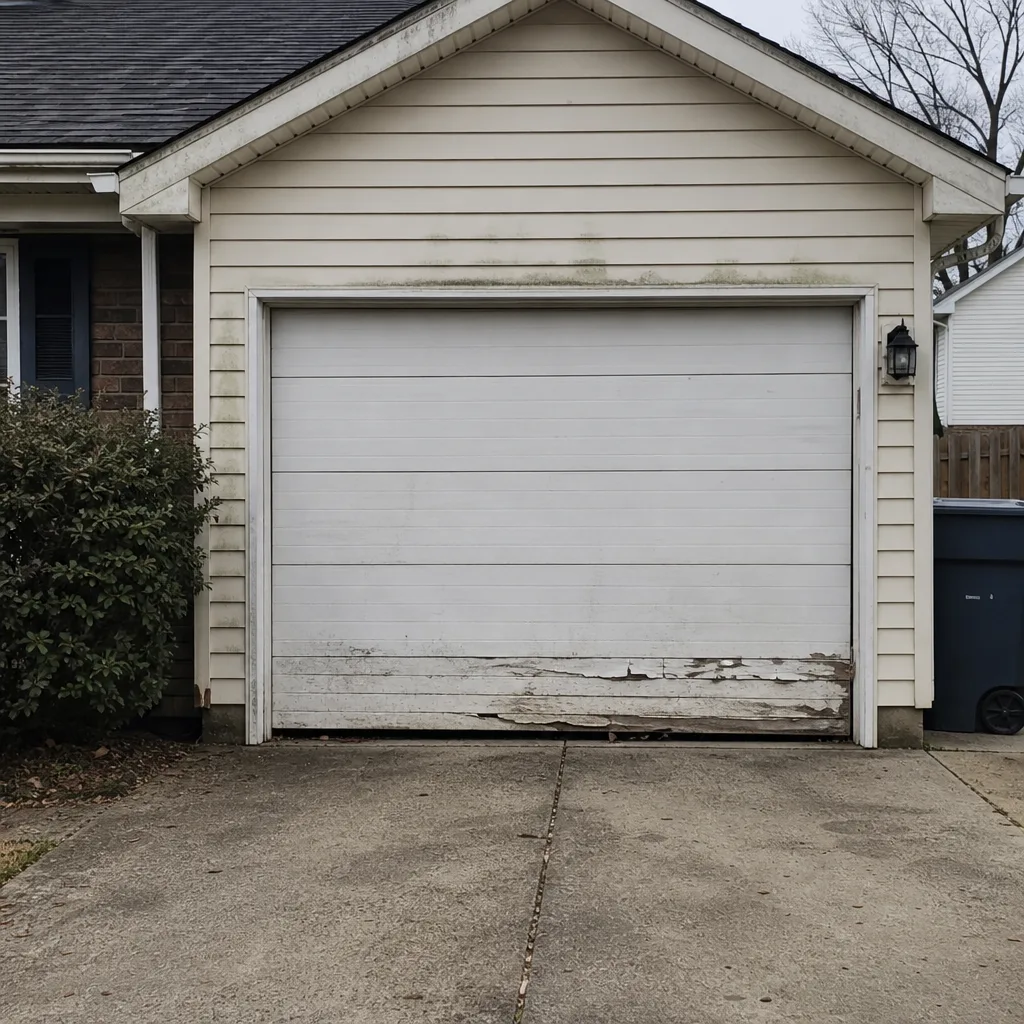 Before
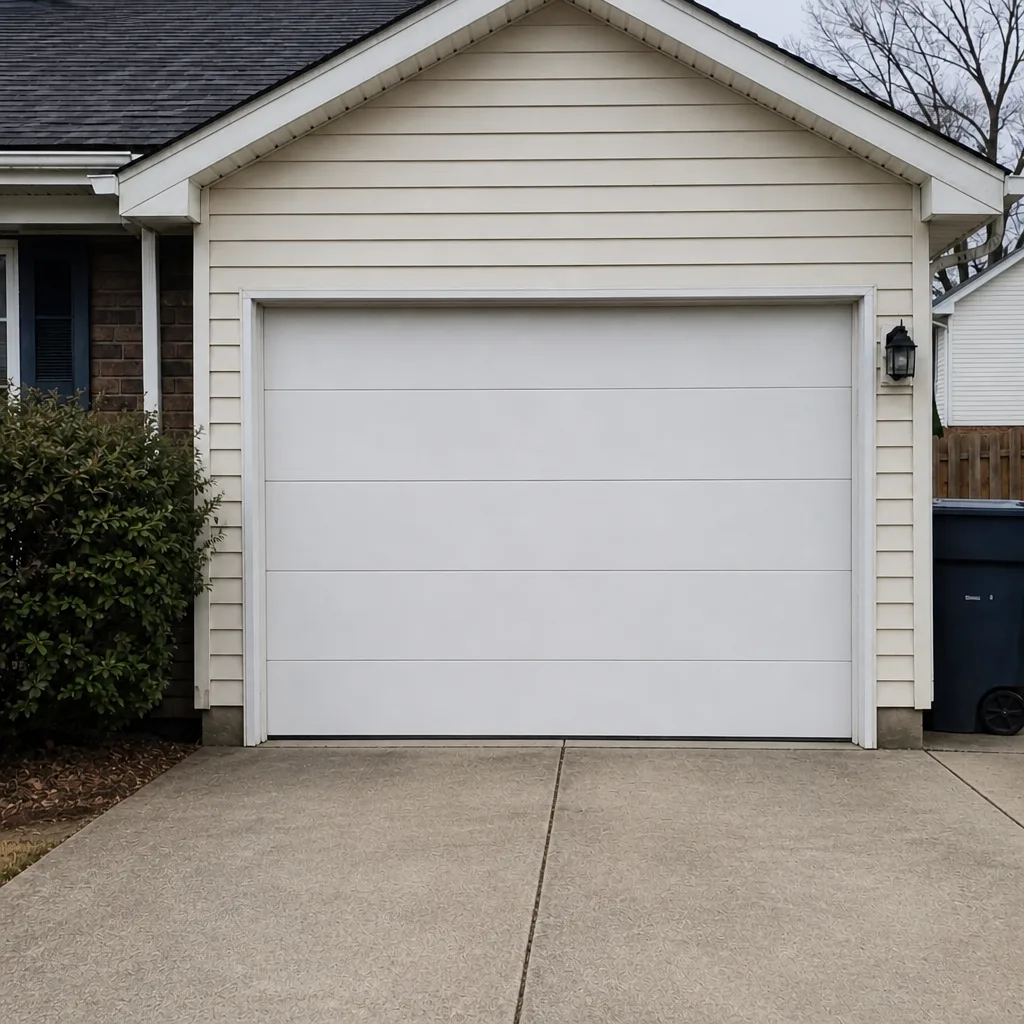 After
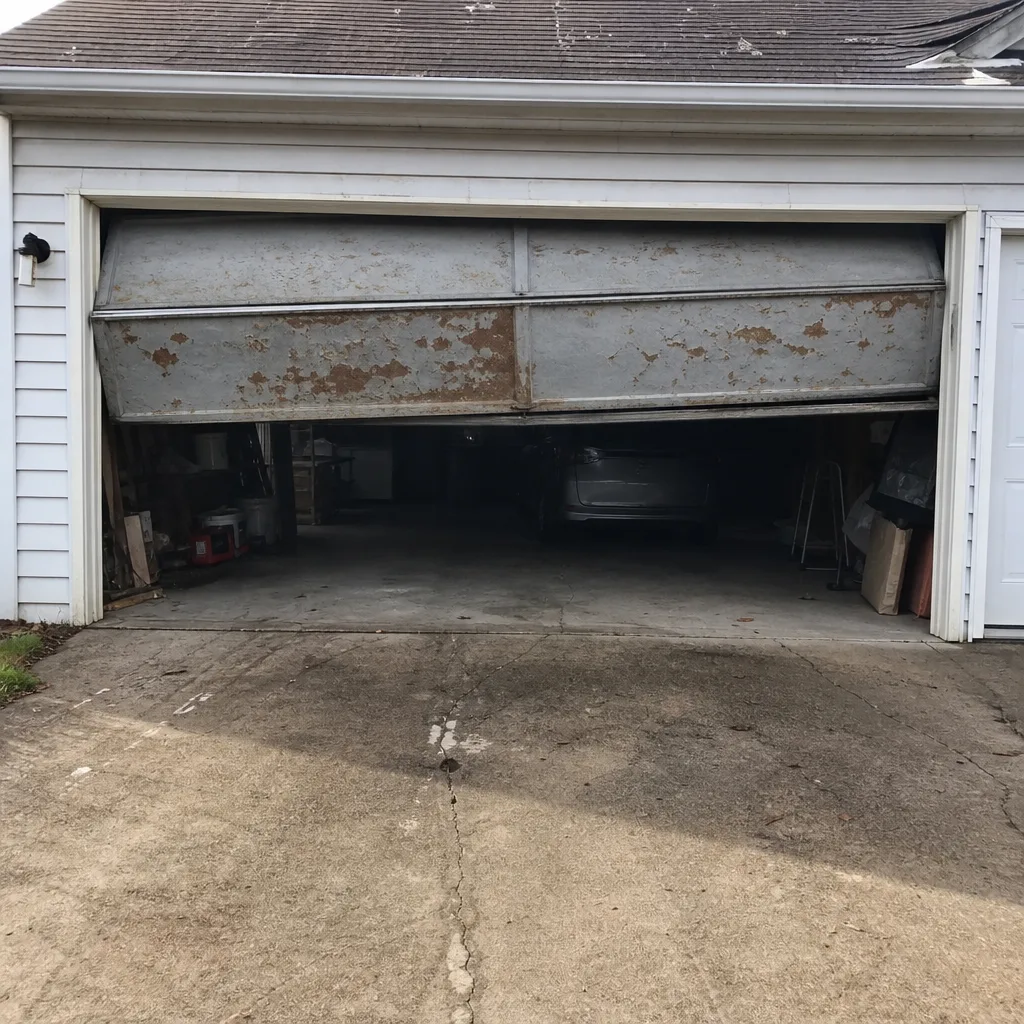 Before
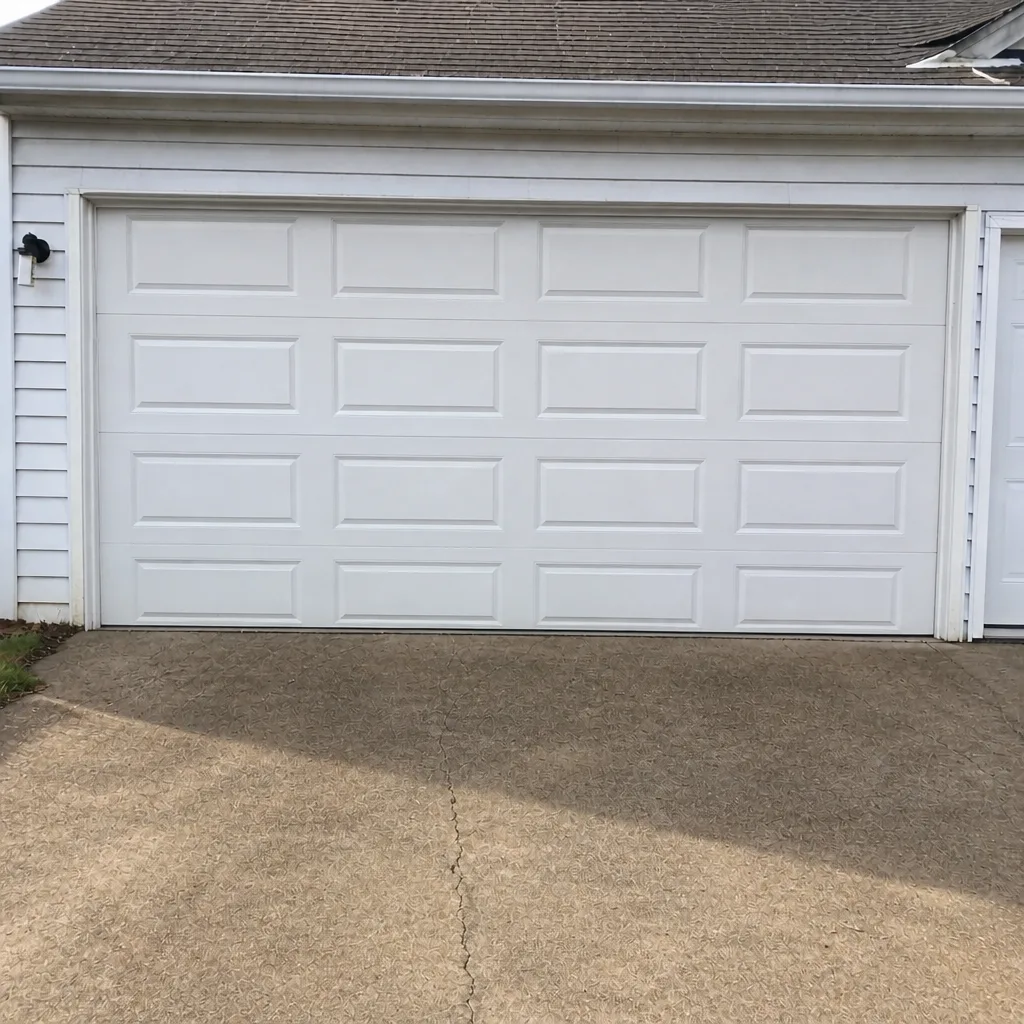 After
When to Call a Professional
Call a professional whenever stored energy is involved: a broken or rusted spring, a lifted or snapped cable, a door that’s come off its roller or is running crooked, and a track that’s bent or out of plumb. Call when the door is stuck closed and the garage is your exit, or when an opener forces its way through resistance you can’t identify. Call when the work is an installation or replacement of a panel, a door, or an opener, because those jobs need a balanced, correctly sized assembly and often a warranty sign-off. Chesapeake Garage Door Repair Pros offers free estimates in Chesapeake – call (866) 834-6826. We’ll tell you honestly which tier your job is in, even when the answer is that you can do it yourself.
Frequently Asked Questions
You shouldn’t. A torsion spring stores roughly 100 foot-pounds of torque when it’s wound, and the winding process requires proper winding bars, correct door positioning, and hands-on training. A slip under load releases that energy instantly. The right move is to call for spring replacement, and the quote is what sets the price before any work begins.
Most repairs cost less than a new door, and the exact figure depends on the part and the door. A bottom weather seal, a hinge, or a roller is a small job. A spring replacement or opener repair sits in the middle, and a new door is the top of the range. We quote every job in writing before touching it, so you see the number and agree to it first. Call (866) 834-6826 for a free estimate.
No. The written estimate is the price, and we quote before any work starts. If we find something the estimate didn’t anticipate – a bent track under a spring job, for example – we tell you and get your agreement before proceeding. You never get an invoice that’s larger than the quote you agreed to.
The local professionals we connect you with are licensed and insured as their state requires. Our role is to match you with a vetted local professional who performs the work, and because they work on garage doors exclusively, the diagnosis is specific rather than general. Call (866) 834-6826 if you want to confirm what’s covered for your job.
Emergency garage door service is available for situations that can’t wait, including a door stuck closed with a failed spring. Speed isn’t the only factor – a correct spring match and a balanced door matter more than an arbitrary arrival window – but if your garage is your locked-out exit, call and we’ll start the process. Call (866) 834-6826. We’re closed on Saturday; if a door fails then, we’ll book you for Sunday.
Yes, and it’s why we ask. A Clopay door, a Wayne Dalton door, and an Amarr door have different panel profiles, hinge types, and balance points, and opener brands like Genie and LiftMaster have different travel and force adjustment menus. We work on LiftMaster, Chamberlain, Genie, Clopay, Amarr, Wayne Dalton, Craftsman, and Raynor equipment, so the technician starts from the brand’s quirks rather than guessing. Call (866) 834-6826 with your model number if you have it.
The Bottom Line
The DIY-versus-pro question isn’t about self-reliance; it’s about which parts of your door store energy and which don’t. Maintenance – painting, seals, lubrication, remotes – belongs to you, and doing it well is how you protect your door and your wallet. Diagnosis and installation belong to a trained technician, because the parts are sized for your door and the warranty may depend on it. Anything involving a spring, a cable, or a bent track belongs to a professional, full stop. If you’re not sure which side of the line your job falls on, that uncertainty is your answer. Call (866) 834-6826 for a free estimate in Chesapeake. Start at Chesapeake Garage Door Repair Pros and we’ll take it from there.
Written by the team at Chesapeake Garage Door Repair Pros.