Last updated November 22, 2026
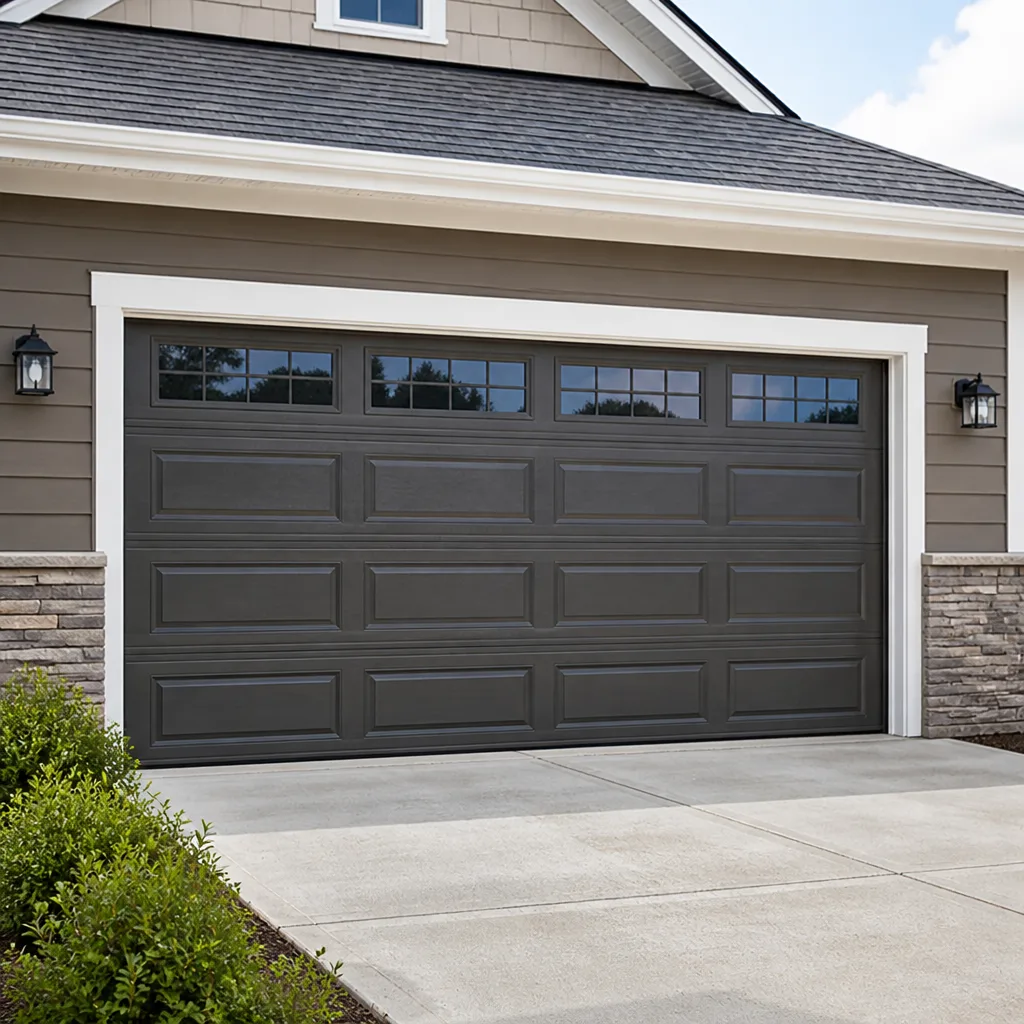 Raised-panel steel
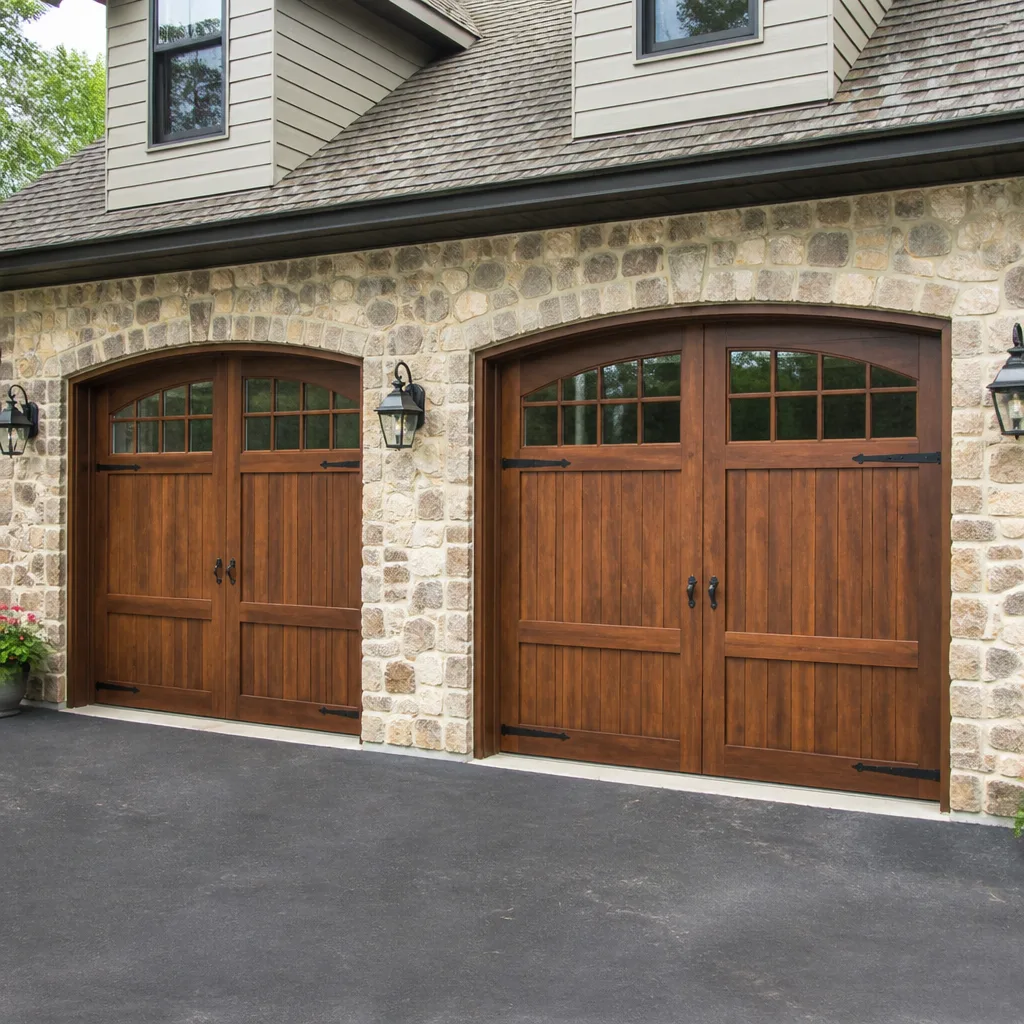 Carriage house
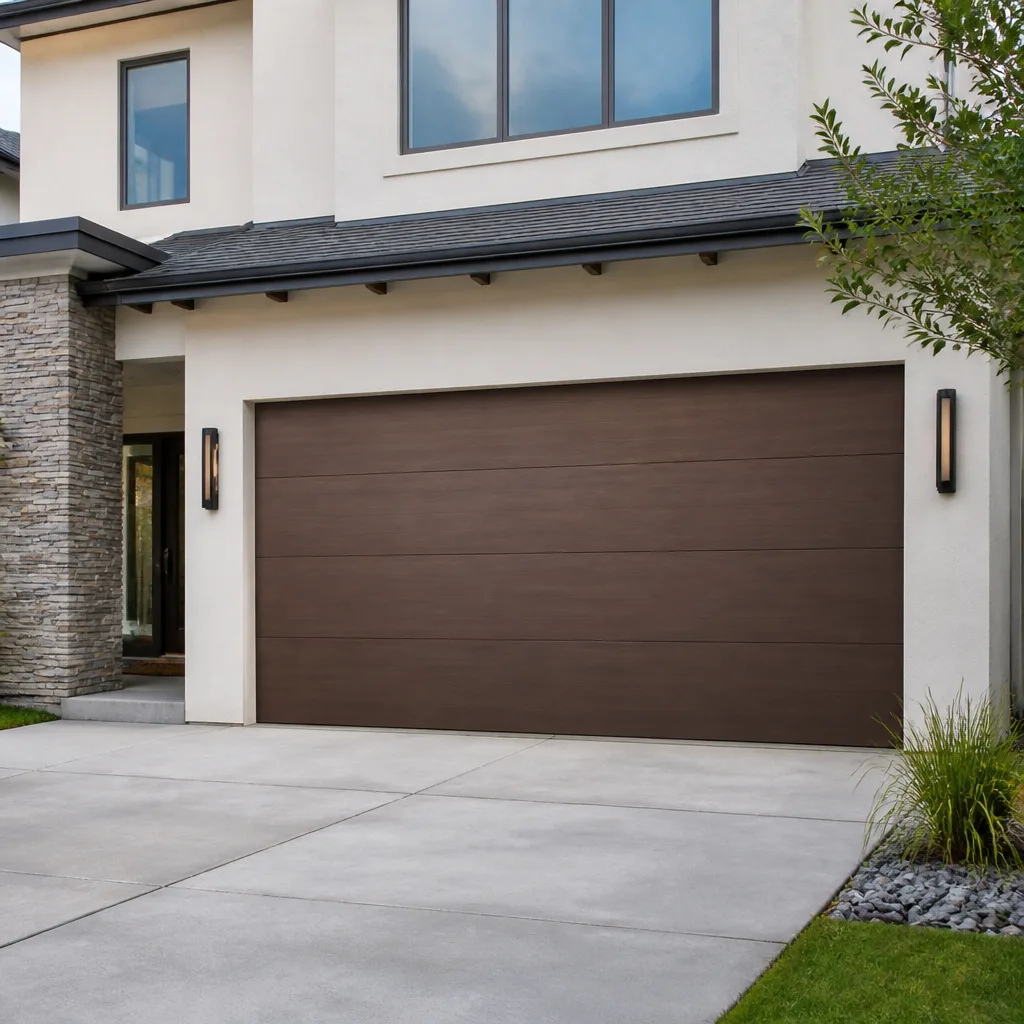 Modern flush
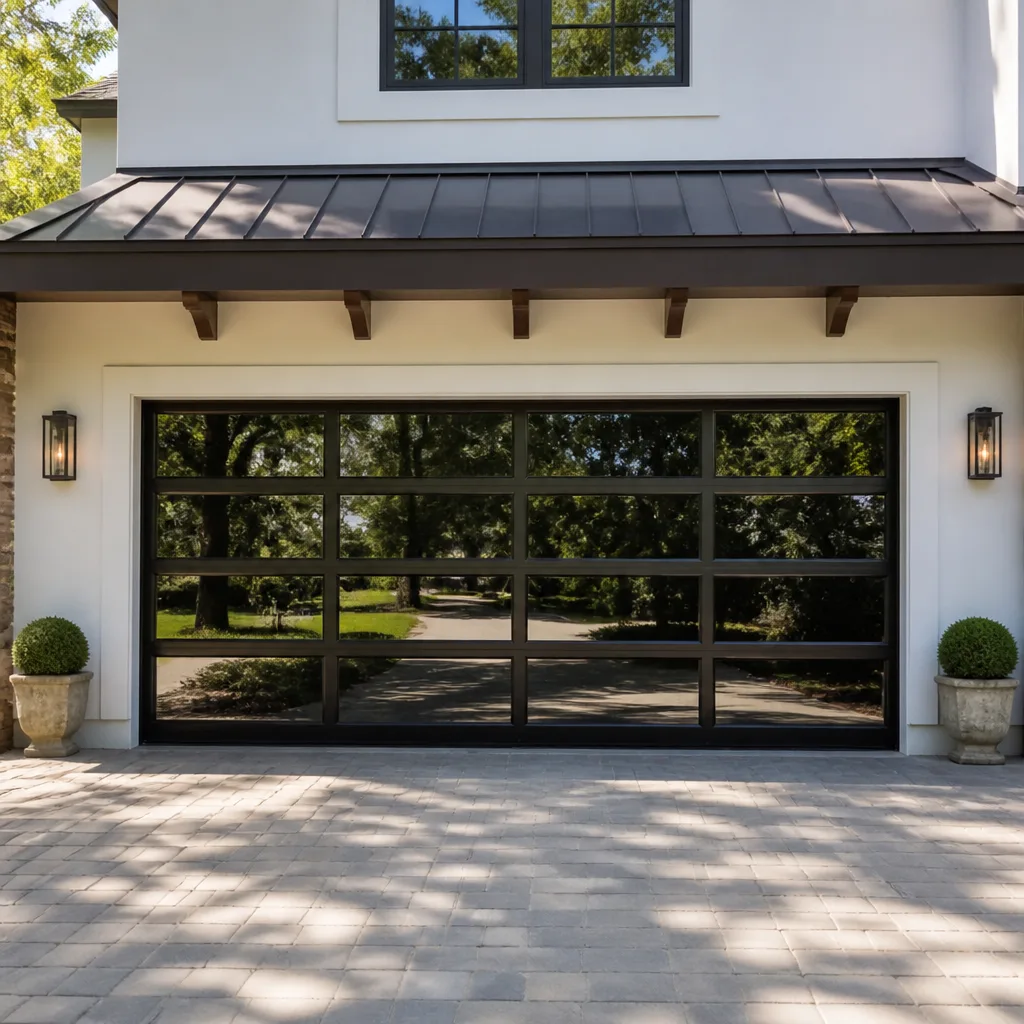 Full-view glass
 LiftMaster openers
 Chamberlain openers
Full 25-point door and opener safety check with every visit - springs, cables, rollers, tracks, and your LiftMaster or Chamberlain opener included
You get a price before we start. It does not change when the pro arrives.
Get your free estimateGarage Door Permits, Codes & Inspections in Chesapeake, VA: What You Need to Know
Most Chesapeake homeowners assume a garage door swap never needs a permit, and for a straight like-for-like replacement they’re usually right. But there’s a line, and it’s fuzzier than it looks. Widen the opening to fit a bigger door, change the header, or cut a new rough opening, and the job quietly crosses from “replace a part” into “structural alteration” – which means City of Chesapeake Development and Permits review, an inspection, and a paper trail that matters at resale and at claim time. This guide draws that line precisely. You’ll learn Chesapeake’s real permit triggers, how Virginia’s adopted code treats attached-garage fire separation, what an inspector actually checks, and how to fix unpermitted work before a sale freezes up.
Quick Answer
In Chesapeake, a like-for-like garage door replacement of the same size in the same opening typically needs no building permit, but any structural change to the opening – resizing it, modifying or replacing the header, cutting a new rough opening, or altering the framing that carries the door – requires a permit and an inspection through City of Chesapeake Development and Permits. Attached garages are also subject to Virginia’s adopted residential building code for fire separation between the garage and the living space, and that separation is part of what an inspector verifies. When in doubt, confirm the requirement with the city’s building department before work starts.
Styles & brands we work with
- Raised-panel steel
- Carriage house
- Modern flush
- Full-view glass
- LiftMaster openers
- Chamberlain openers
Table of Contents
- Like-for-like replacement vs. structural alteration
- The specific permit triggers in Chesapeake
- What Virginia’s adopted residential code requires of a garage
- What an inspection actually covers
- Permitting work that was done without one
- Why this matters at sale and at claim time
- Common mistakes to avoid
- Frequently asked questions
Like-for-like replacement vs. structural alteration: where the line sits
The cleanest way to think about it is this: if the door coming out and the door going in occupy the same opening, at the same width, at the same height, mounted to the same framing, you’re replacing an installed product. That usually doesn’t trigger a building permit in Chesapeake. If any dimension of the opening itself changes, you’re now doing construction on the building, and construction on the building is a different category entirely.
Here’s the distinction in practice:
- Like-for-like replacement (typically no permit): same door size, same opening, same header, same tracks bolted to the existing jambs. The structure of the house isn’t touched.
- Structural alteration (always permit-required): widening the opening, raising it, lowering it, replacing or notching the header, cutting a new rough opening where none existed, or adding framing to carry a heavier door.
What trips people up is that a like-for-like swap can hide a structural change. A door is ordered to a size, the opening doesn’t quite match, and rather than reorder, someone trims the framing to make it fit. That trim is a structural change, whether or not anyone called it one. In Chesapeake, older homes with original framing are exactly where this happens, because a replacement door ordered to the nominal opening size can land a fraction off. A good installer measures carefully and orders to the real opening instead of making the opening fit the door.
The other point homeowners miss: permits attach to the scope of work, not to the brand of door. A premium garage door installation of an Amarr or Wayne Dalton unit in an unchanged opening is still a like-for-like replacement. A basic door installed into a newly enlarged opening is still a structural alteration. The door doesn’t decide; the framing does.
The specific permit triggers in Chesapeake
Chesapeake Development and Permits reviews building work under the Virginia Uniform Statewide Building Code, which adopts the International Residential Code with Virginia amendments. The city’s building department is the authority on whether a specific job needs a permit, and the honest answer is that you should ask them for anything beyond a straight swap. That said, these are the situations that reliably cross the line:
- Resizing the opening. Widening a single-car opening to a double, or raising the height to accommodate a taller door, changes the load path of the wall. That’s a structural alteration.
- Header modification or replacement. The header is the beam that carries the weight above the opening. Replace it, notch it for clearance, or change its span, and you need engineering plus a permit.
- New rough opening. Cutting a garage door opening into a wall that never had one – a conversion, an addition, a detached structure being enclosed – is new structural work.
- Framing changes for a heavier door. Upgrading to a heavier insulated door can require reinforcement of the existing framing. Reinforcement is alteration.
- Structural work on the garage itself. Replacing a rotted sill plate under the opening, sistering a damaged jamb, or repairing a failing header all touch structure.
One Chesapeake-specific wrinkle: the city has a substantial stock of homes built across several decades, and the framing in an older garage may not match what a door manufacturer assumed. That mismatch is precisely when a “simple replacement” starts drifting into structural territory. The safe move is to have the opening measured and the framing inspected before a door is ordered, not after it arrives on site. We’d rather tell a homeowner the opening needs a permit and a header than trim a load-bearing member to make a door fit.
What Virginia’s adopted residential code requires of a garage
Garage doors aren’t only about the opening. An attached garage is a fire-separation problem, and Virginia’s adopted residential code treats it that way. The core requirement is a separation between the garage and the dwelling – a wall, ceiling, and door assembly that resists the spread of fire from the garage into the living space. The code specifies a separation rating for the wall and ceiling and requires the door between the garage and the house to be a fire-rated assembly that self-closes and self-latches.
What that means for a Chesapeake homeowner:
- The garage-to-house door matters. A standard interior door swapped in for a rated one, or a rated door fitted with a non-self-closing hinge set, is a code problem. If you’re replacing that door, keep it rated and keep the self-closing hardware.
- Penetrations count. Holes cut through the separation wall or ceiling for wiring, plumbing, or ductwork need to be sealed to preserve the rating. A garage door installation that requires new framing might pull wires or create penetrations that have to be sealed.
- The vehicle door is not the separation door. The overhead door is not what the fire separation is protecting. The rated assembly is the wall and the pedestrian door between garage and house.
- Detached garages are different. A fully detached garage doesn’t carry the same separation requirement because there’s no shared wall. Chesapeake has plenty of both attached and detached garages, so the answer depends on the structure, not the door.
We won’t quote code sections here because the edition and amendments matter and the city is the authority. If your job touches the separation assembly, ask Chesapeake’s building department whether an inspection is required, and get the answer in writing before the work starts. That single phone call has saved more than one homeowner a headache at resale.
What an inspection actually covers
Homeowners often picture an inspector looking at the door and calling it good. That’s not what happens. A garage door-related inspection is a structural and life-safety check, and the inspector is verifying that what was built matches what was permitted and meets code. Here’s what’s typically in scope:
- Framing and header. The inspector verifies the header is the right size and species, properly supported, and connected with the specified fasteners. If an engineer’s letter was required for a header change, the inspector checks the built condition against it.
- Rough opening dimensions. The opening is measured against the approved plan. A door opening that’s wider or taller than permitted fails.
- Fastening and anchoring. Tracks, brackets, and the door’s attachment to the framing are checked for proper fasteners and anchorage – a door hanging on undersized screws is a fail.
- Fire separation. On an attached garage, the separation wall, ceiling, and pedestrian door are checked for rating, self-closing operation, and sealed penetrations.
- Safety features. If the scope included an opener, the inspector may verify the photo-eye safety reverse and the door’s balance and travel.
- Final condition. The door operates correctly, closes fully, and doesn’t bind. A door that’s installed but not adjusted fails final.
A failed inspection usually looks like one of a handful of things: an opening dimension off from the plan, a header under-built for the span, missing or wrong fasteners, an unsealed penetration through the fire separation, or an opener safety reverse that doesn’t trip. None of these are catastrophic – they’re correctable – but each one means a re-inspection and a delay. The way to avoid them is to build to the approved plan and to have the door adjusted and tested before the inspector arrives. Our technicians have up to 13 years of experience and know what a final inspection is looking for, which is why we test balance, travel, and safety reverse before we call a job done.
Permitting work that was done without one
If work was done without a permit and it should have had one, the fix is a retroactive permit – sometimes called a permit after the fact. The process is straightforward in concept and varies in practice depending on what was done and whether it’s visible. The general path:
- Call Chesapeake Development and Permits and describe the work. Ask what’s required to permit it after the fact.
- Gather what you have. The original door spec sheet, any photos taken during the work, the installer’s invoice, and the manufacturer’s installation instructions all help.
- Have the built condition inspected. If the framing is now concealed behind drywall, the city may require opening it up so the inspector can verify what’s behind it. That’s the part homeowners don’t expect.
- Correct what fails. If the header is undersized, the fasteners are wrong, or the fire separation is compromised, it gets corrected and re-inspected.
- Close the permit. Once the inspection passes, the permit is closed and the record is clean.
The retroactive path is almost always cheaper and faster than discovering the problem during a sale. In Chesapeake, a buyer’s inspector who spots an enlarged opening with no permit record will flag it, and the seller then has to permit it under time pressure, often with a closing date hanging over the work. Doing it proactively turns a scramble into a routine correction.
Why this matters at sale and at claim time
A closed permit is a record that the work was inspected and met code. An unpermitted structural change is a gap in that record, and gaps show up in two places homeowners care about: the sale and the insurance claim.
At sale, a buyer’s inspector compares what’s built to what’s on record. An enlarged opening, a modified header, or a new rough opening with no permit is a red flag, and it can stall financing or push a buyer to demand a credit. A seller then has to permit the work retroactively – which may mean opening finished walls – or accept a price reduction. Either way, the missing permit costs more at sale than it would have at installation.
At claim time, an insurer evaluating a loss will look at whether the work that caused or contributed to the loss was permitted and inspected. An unpermitted structural change can complicate a claim, and in some cases an insurer may decline to cover the unpermitted portion. We can’t speak for any specific insurer, and every policy is different, but the pattern is consistent: permits and inspections are the paper trail that supports a claim. Title insurance generally covers title defects, not construction defects, so don’t count on title insurance to solve an unpermitted garage door opening. The permit record is the thing that protects you, and it’s built at the time of the work.
When to call a professional
Call a professional when the work involves anything structural – resizing an opening, a header, new framing, or a fire separation – because that’s permit territory and it’s not a DIY job. Call when a door is out of balance, when an opener’s safety reverse won’t trip, or when a spring has failed, because high-tension spring work is genuinely dangerous and a trained technician with the right tools should handle it. We can also work with your insurer if a claim is involved. Chesapeake Garage Door Repair Pros offers free estimates in Chesapeake – call (866) 834-6826 to talk through your job and get a written price before any work begins.
Common Mistakes to Avoid
- Assuming every door swap needs a permit. A same-size replacement in an unchanged opening typically doesn’t. Over-permitting wastes time and money and signals to a future buyer that something structural happened when nothing did.
- Assuming no door swap ever needs one. This is the costlier mistake. A widened opening or a modified header is structural, and skipping the permit creates a record gap that surfaces at sale. Confirm with Chesapeake’s building department.
- Letting an installer trim the framing to fit a door. The door should be ordered to the real opening, not the opening cut to the door. Trimming a load-bearing member is a structural change done without a permit.
- Swapping the garage-to-house door for a non-rated one. In an attached garage, the fire separation depends on a rated, self-closing door. Replacing it with a standard interior door is a code problem and a safety problem.
- Leaving penetrations unsealed. Wires or pipes run through the separation wall need sealing to preserve the rating. This is a common inspection failure that’s easy to prevent.
- Skipping the pre-inspection adjustment. An opener safety reverse that doesn’t trip or a door that binds will fail final. Test the door before the inspector arrives, not during.
- Waiting until a home sale to permit unpermitted work. Retrofitting a permit during a sale, with a closing date pressing, is the most expensive way to do it. Do it proactively.
- Trusting title insurance to cover construction defects. Title insurance addresses title issues, not unpermitted building work. The permit record is the protection.
See the difference
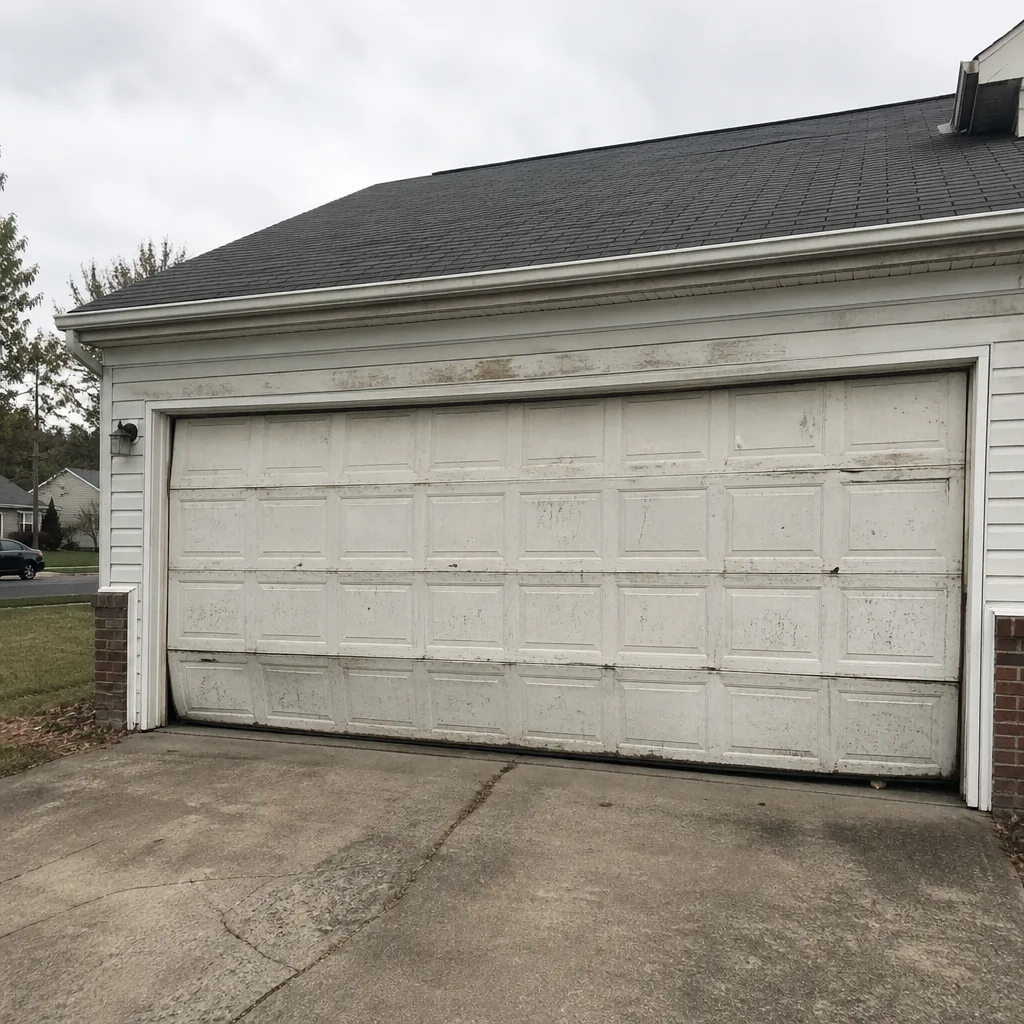 Before
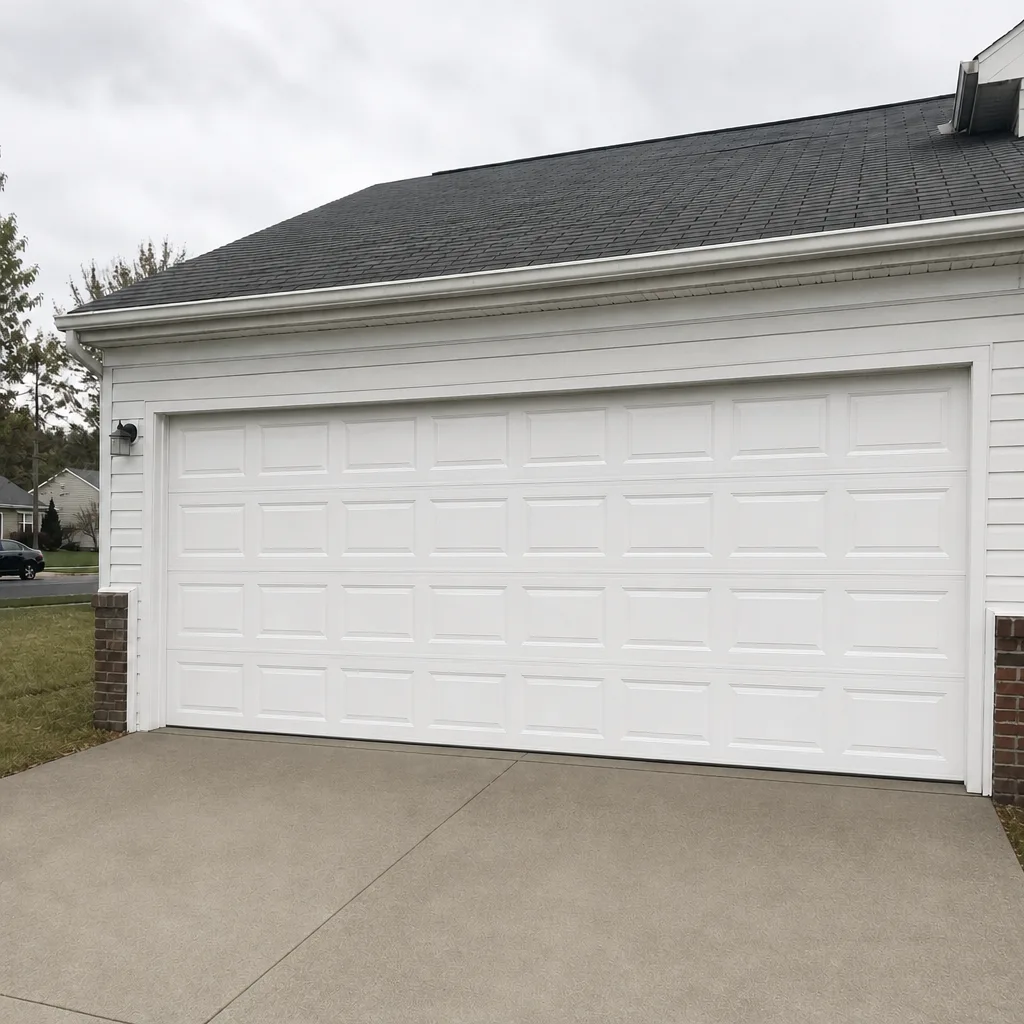 After
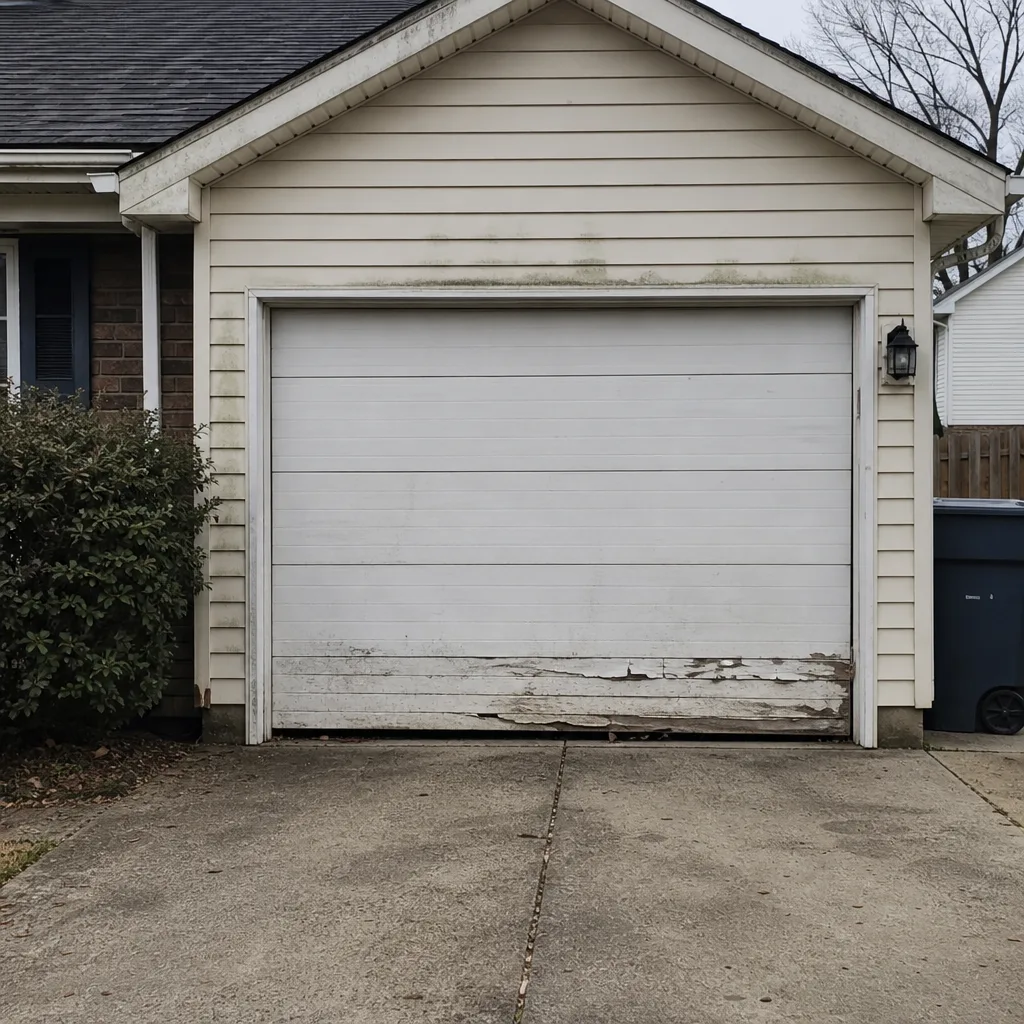 Before
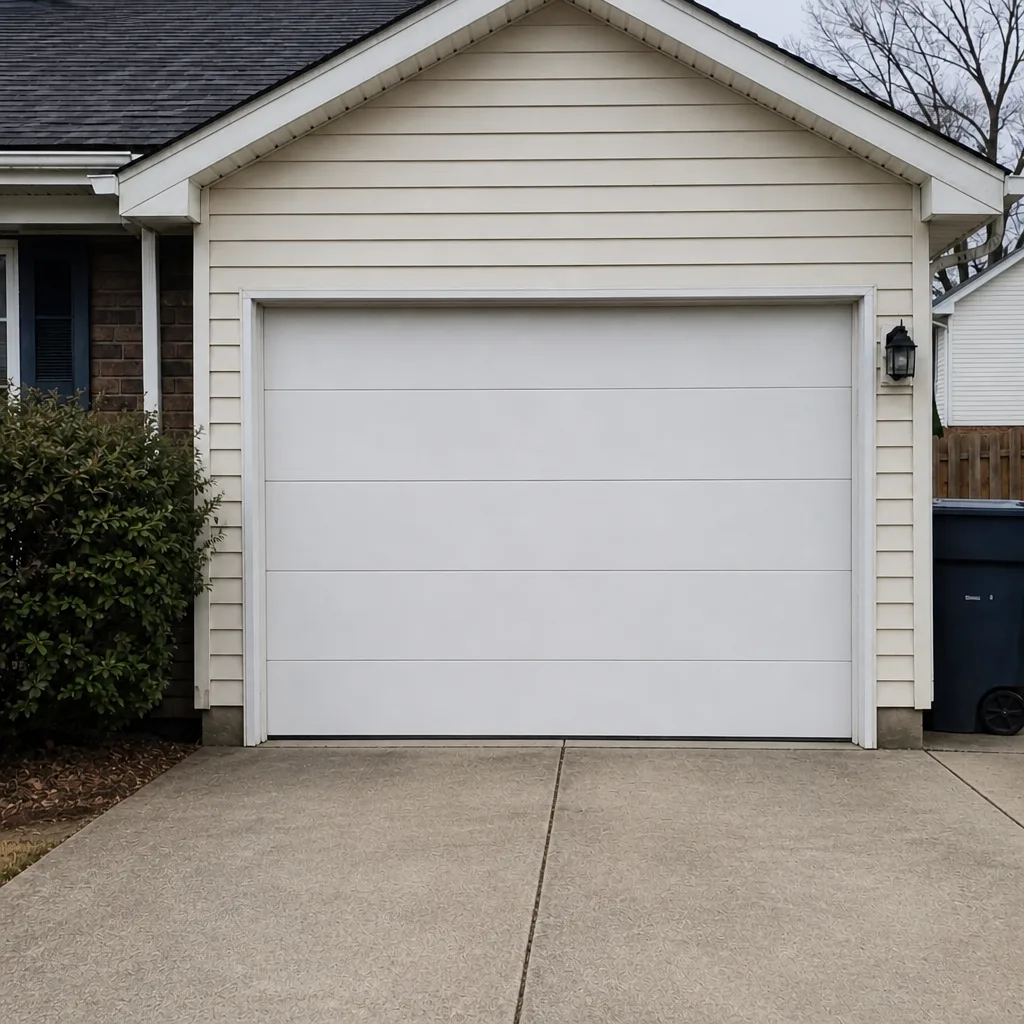 After
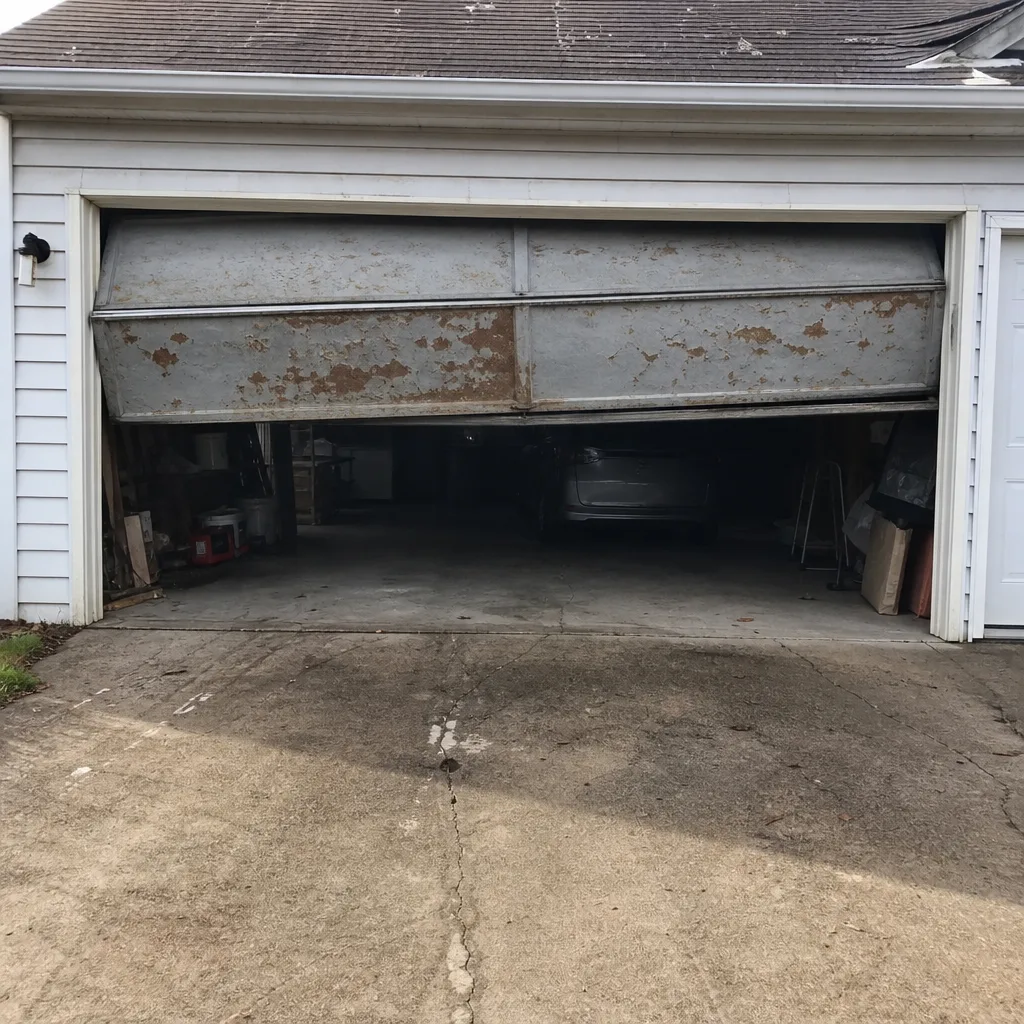 Before
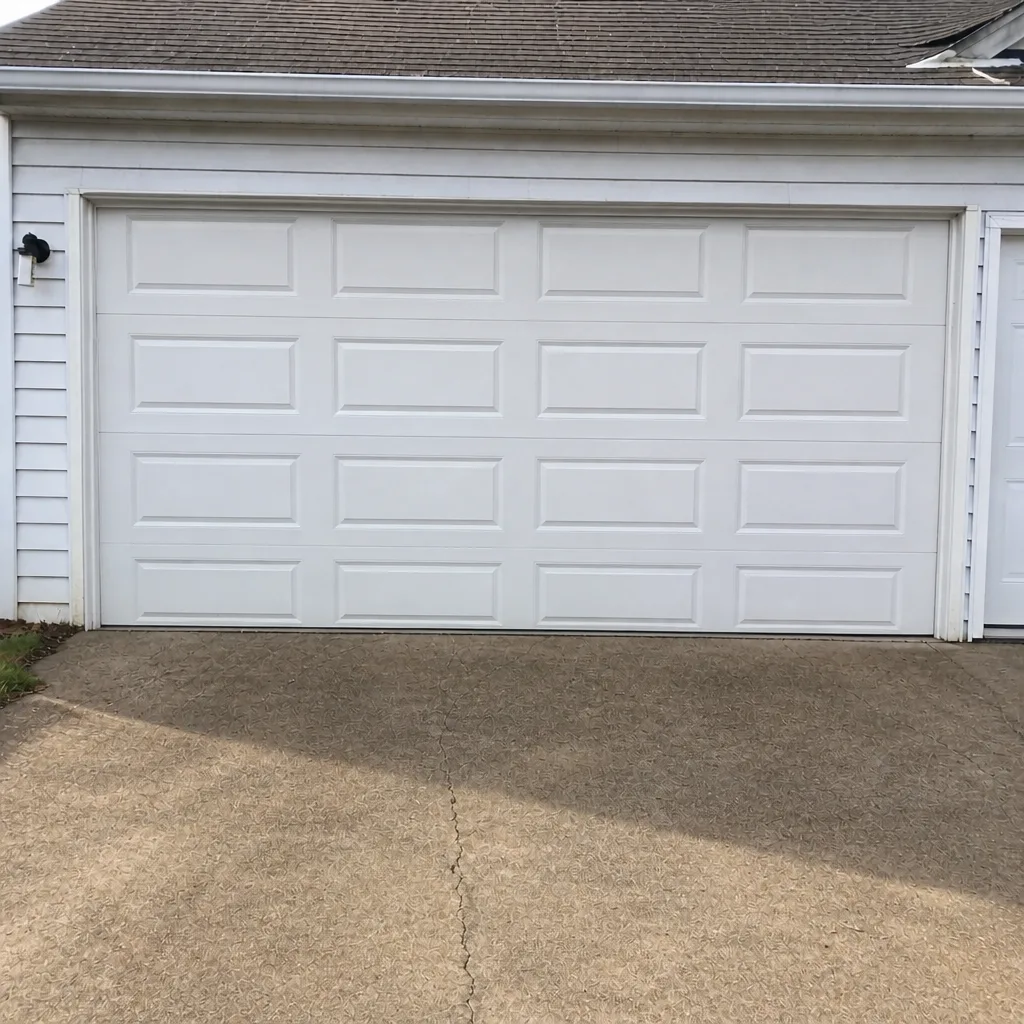 After
Frequently Asked Questions
Usually not, if it’s a like-for-like replacement in the same opening. A permit is required when the job changes the structure of the opening – resizing it, modifying the header, cutting a new rough opening, or altering the framing. Confirm with City of Chesapeake Development and Permits for your specific job before work starts. Need the work done right? Call (866) 834-6826 for a free estimate.
Yes. Widening, raising, or lowering the opening changes the load path of the wall, and modifying or replacing the header is structural work that requires a permit and an inspection in Chesapeake. It’s the single biggest line between a no-permit replacement and a permitted alteration. Call (866) 834-6826 to talk through your scope before you order a door.
The framing, header, and fasteners, the rough opening dimensions against the approved plan, the fire separation assembly on attached garages, and the door’s operation and safety reverse if an opener is in scope. A fail is usually correctable – the fix is to build to the plan and test before the inspector arrives. Call (866) 834-6826 if you want the door adjusted and tested beforehand.
Yes, through a retroactive permit from City of Chesapeake Development and Permits. The process usually involves describing the work, gathering what documents you have, having the built condition inspected – possibly opening finished surfaces – correcting what fails, and closing the permit. Doing it before a sale is far less costly than doing it during one. Call (866) 834-6826 if you need a door corrected and tested as part of the process.
Yes. Virginia’s adopted residential code requires a separation between an attached garage and the dwelling, including a rated, self-closing door between the garage and the house, and sealed penetrations. Detached garages don’t carry the same shared-wall requirement. The city’s building department is the authority on your specific assembly. For door and opener work on an attached garage, call (866) 834-6826.
It can. A buyer’s inspector will flag an unpermitted structural change, which can stall financing or push for a credit, and an insurer evaluating a claim will look at whether the work was permitted and inspected. Title insurance generally doesn’t cover construction defects, so the permit record is your protection. Call (866) 834-6826 for an assessment before a sale deadline forces the issue.
The Bottom Line
In Chesapeake, the permit question comes down to whether the opening changes. A same-size replacement in the same opening typically needs no permit; resizing, modifying the header, or cutting a new rough opening always does. Attached garages carry fire separation requirements under Virginia’s adopted code, and the garage-to-house door is part of that assembly. An inspection checks framing, dimensions, fasteners, separation, and operation, and the common fails are all preventable with careful measurement and a pre-inspection adjustment. Unpermitted work can be permitted retroactively, but doing it before a sale is far cheaper than doing it during one. When the scope is unclear, ask the city’s building department, and call us for a free estimate on the door work itself.
If you’re planning a garage door job in Chesapeake and aren’t sure whether it needs a permit, call Chesapeake Garage Door Repair Pros at (866) 834-6826. We’ll talk through the scope, help you know what to ask the city, and give you a free written estimate for the door and opener work – from repairs and garage door opener repair to a full replacement. We work on LiftMaster, Chamberlain, Genie, Clopay, Amarr, Wayne Dalton, Craftsman, and Raynor equipment, so we know your system before we arrive. Visit Chesapeake Garage Door Repair Pros or call (866) 834-6826 to get started. Estimates are free, and the written price is agreed before any work begins.
Written by the team at Chesapeake Garage Door Repair Pros.