Last updated November 22, 2026
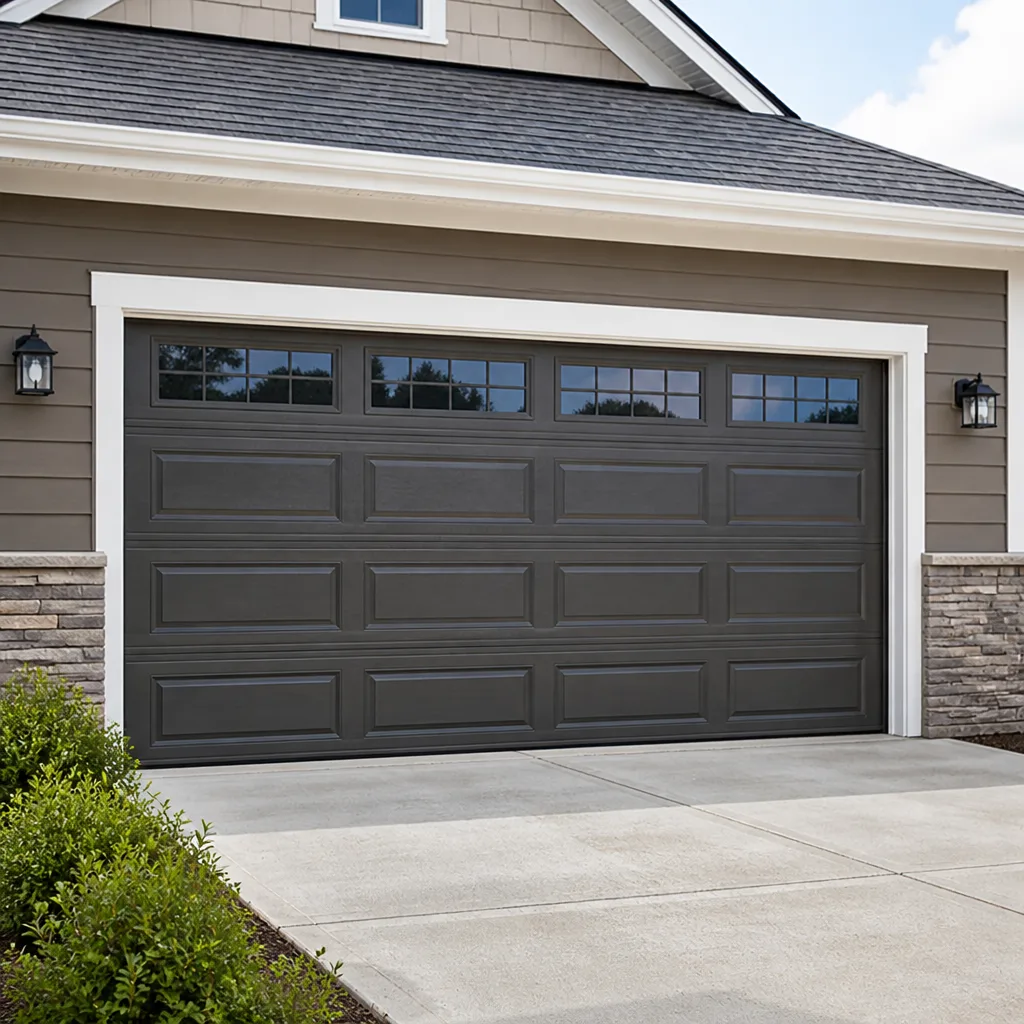 Raised-panel steel
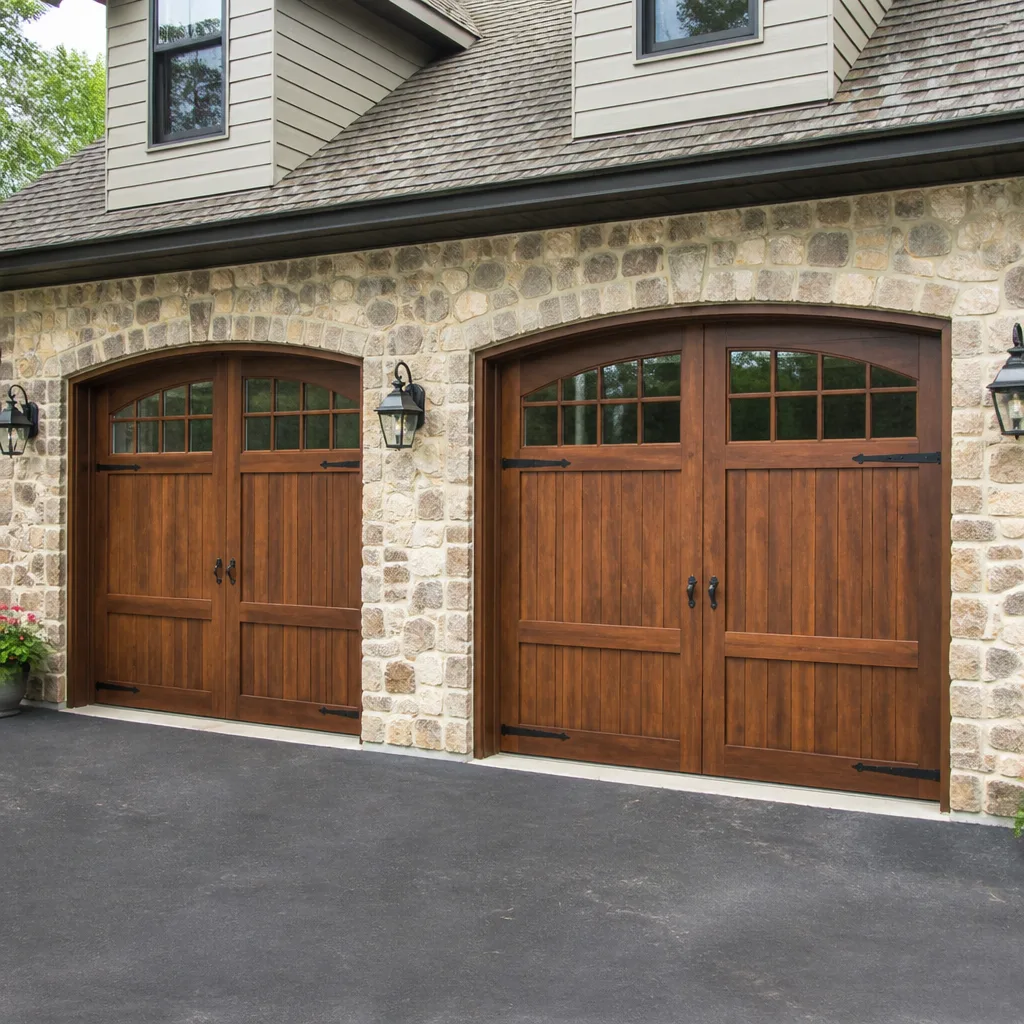 Carriage house
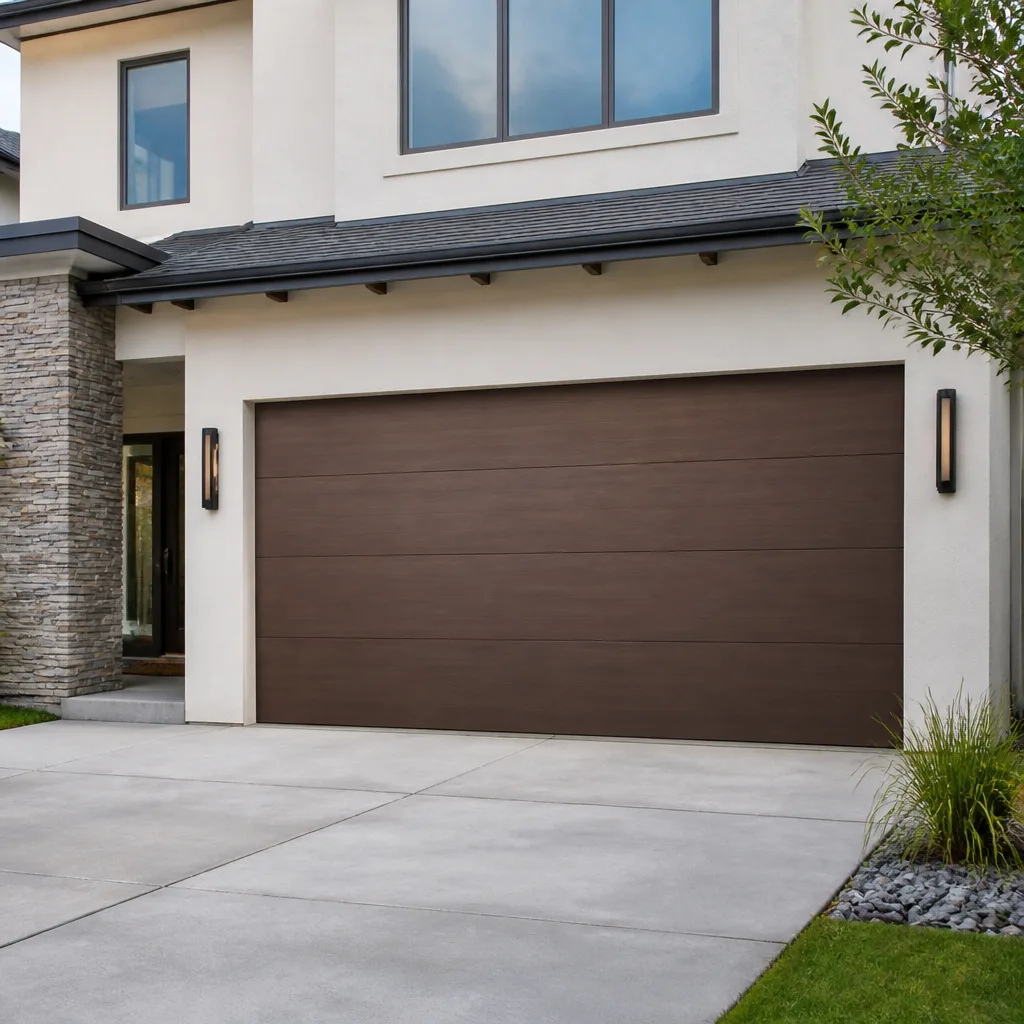 Modern flush
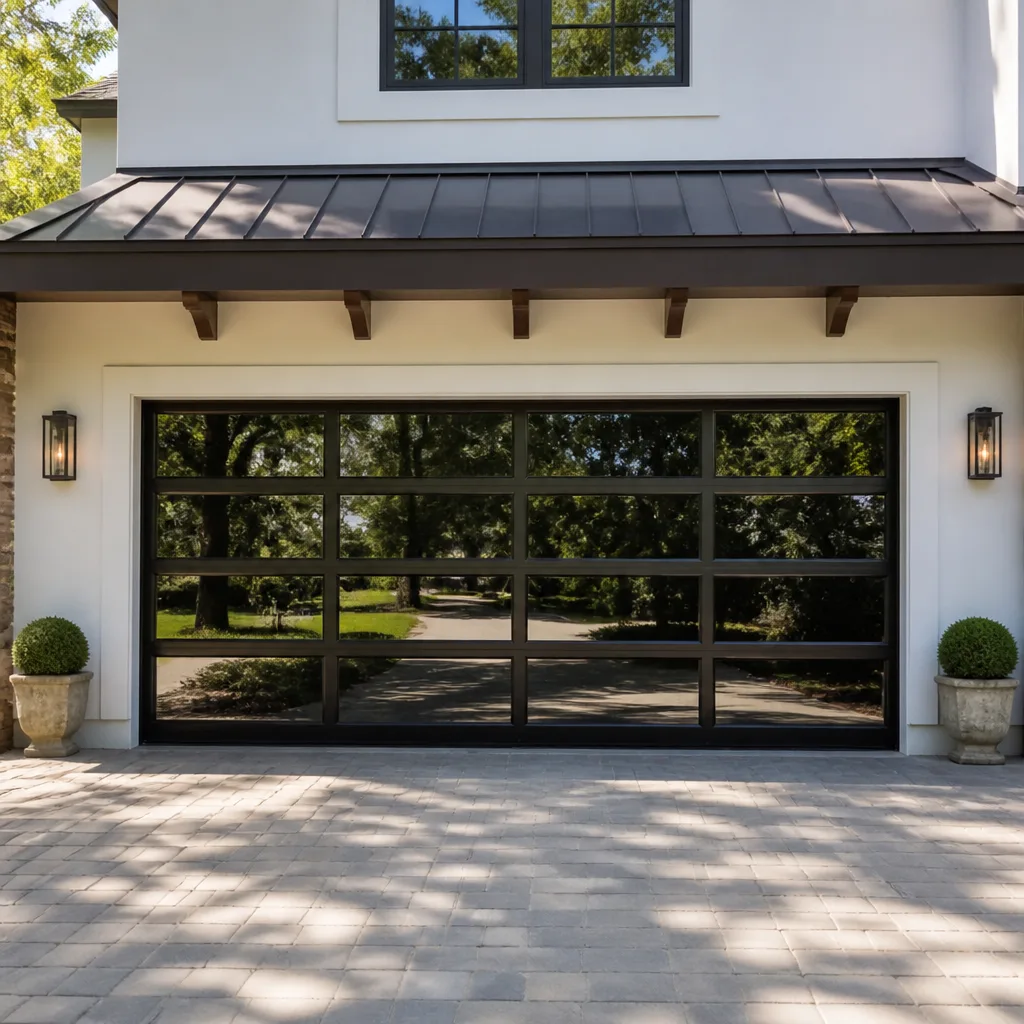 Full-view glass
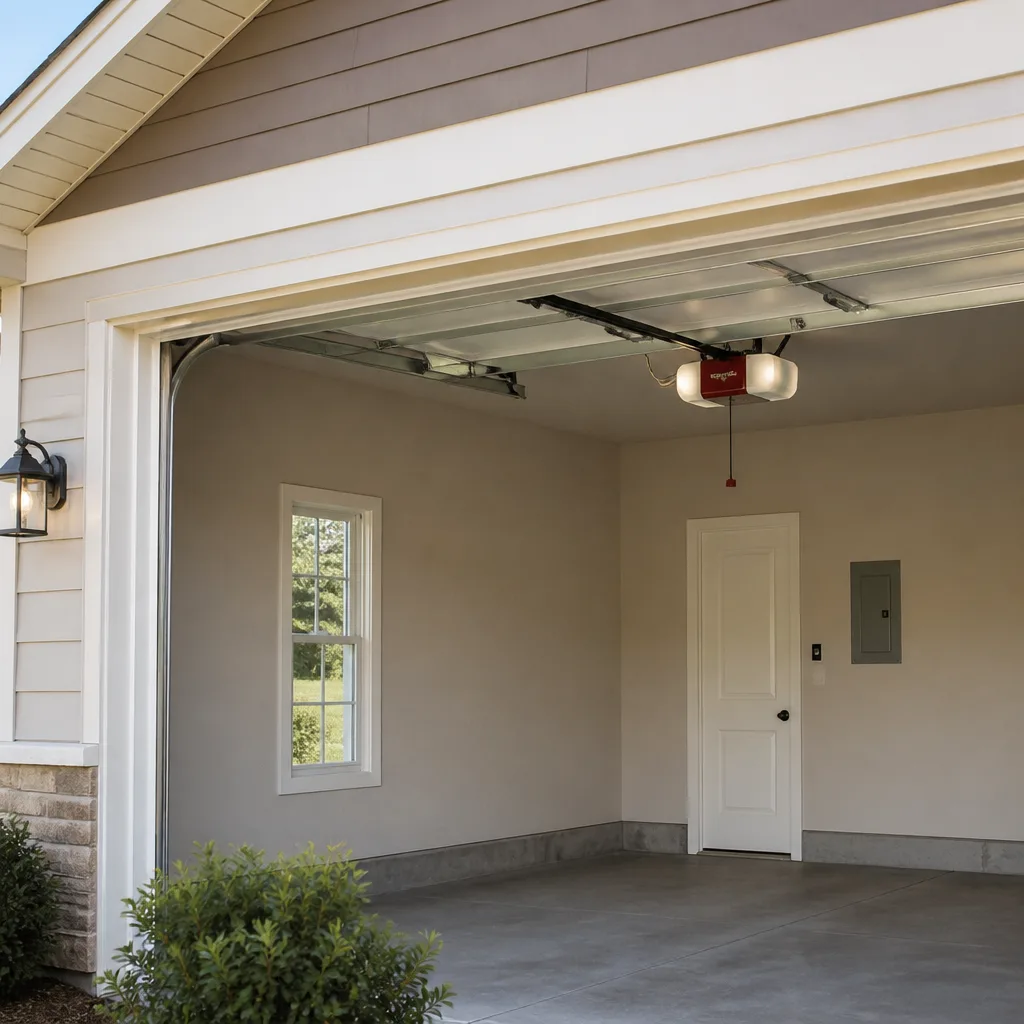 LiftMaster openers
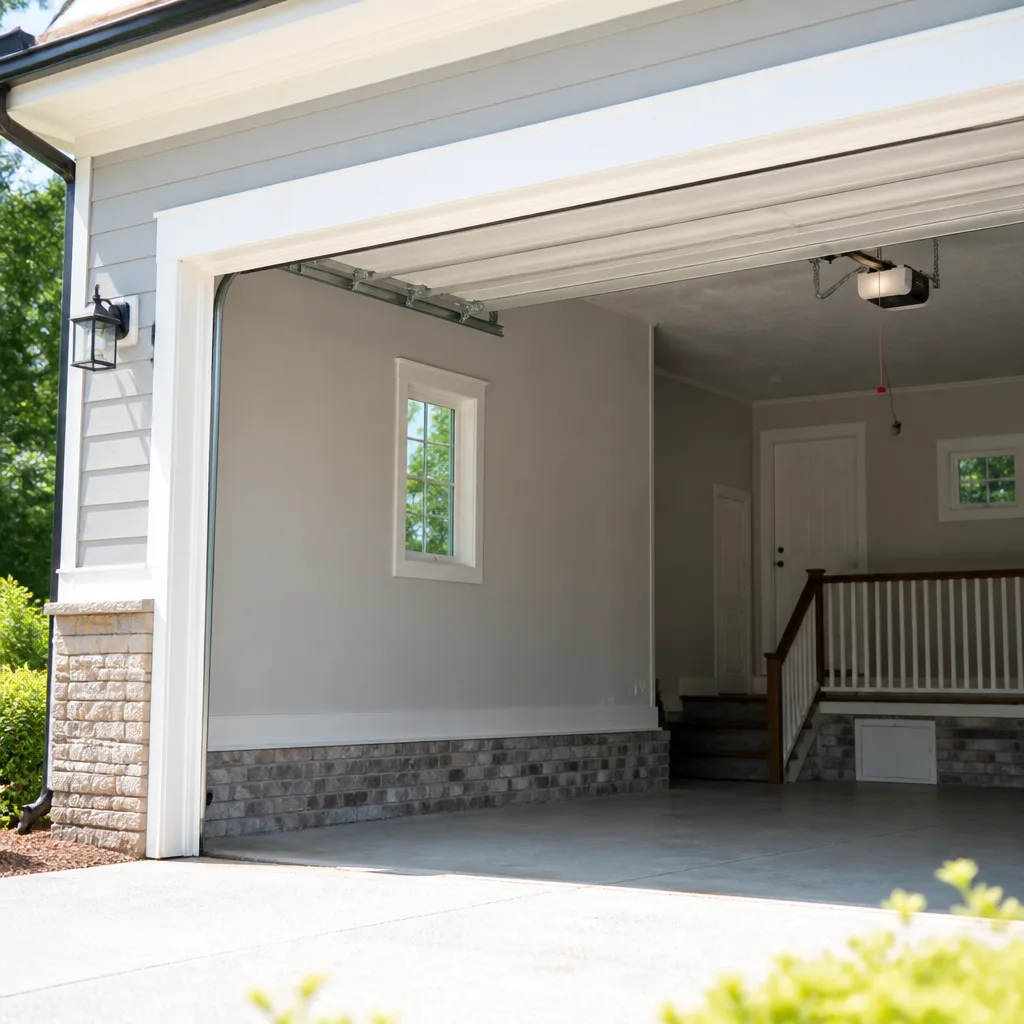 Chamberlain openers
Full 25-point door and opener safety check with every visit - springs, cables, rollers, tracks, and your LiftMaster or Chamberlain opener included
You get a price before we start. It does not change when the pro arrives.
Get your free estimateGarage Door Repair Maintenance Checklist for Chesapeake Homeowners
The repair call we get most in Chesapeake isn’t a snapped spring or a dead opener. It’s a door that has been quietly wearing out for months, and the homeowner had no way to see it coming. Most maintenance advice you’ll find online says to “lubricate moving parts twice a year” and leaves it there, which tells you nothing about which parts, which lubricant, or what a problem looks like before it turns into a real repair. This checklist is different. It’s a task-by-task working tool with pass/fail criteria, the exact products to use, and the Chesapeake-specific items that matter because of our humidity. Read it once, then use it every season.
Quick Answer
A garage door maintenance checklist for Chesapeake homeowners should cover four things every quarter: a balance and travel test, a lubrication pass on springs, hinges, rollers and tracks using the right product for each, a visual inspection of safety cables and hardware, and a seam and weatherstripping check driven by our summer humidity. Lubrication happens roughly every six months; visual inspections every three. Anything that fails the pass/fail test in this guide is a call for a trained technician, not a weekend project.
Styles & brands we work with
- Raised-panel steel
- Carriage house
- Modern flush
- Full-view glass
- LiftMaster openers
- Chamberlain openers
Table of Contents
- How a Garage Door Actually Fails (And Why Chesapeake Homes See It Sooner)
- The Quarterly Walkaround: Pass/Fail Checklist
- The Lubrication Spec: Which Product on Which Part
- Safety Cable Inspection: The Step Almost Every Checklist Skips
- Chesapeake Humidity: Rust Creep, Bottom Seams, and Mold in the Weatherstripping
- How to Log Results and Read the Trend
- Opener and Sensor Checks by Brand
- Repair vs. Replace: What the Checklist Tells You
How a Garage Door Actually Fails (And Why Chesapeake Homes See It Sooner)
Garage doors don’t break all at once. They fail slowly, one part at a time, and the parts that wear out first are rarely the ones homeowners are watching. A torsion spring doesn’t just snap out of nowhere; it cycles thousands of times before it goes, and the warning signs show up weeks earlier in the form of slow lift, uneven travel, and a door that doesn’t want to stay up on its own. By the time you notice the door is heavy, the spring is near the end of its life.
What makes this worse in Chesapeake is the climate. We sit in a stretch of Virginia where summer humidity hangs around and afternoon thunderstorms roll through all season. That combination puts constant moisture against the bottom panel of every door in neighborhoods from Great Bridge to Greenbrier. Steel doors here live a harder life than doors in drier parts of the country, and the damage starts at the seams where the metal is folded and painted. Once rust creeps into a seam, it works its way along the panel from the inside, where you can’t see it until the paint bubbles on the outside.
Rollers and hinges are the other quiet failures. A worn nylon roller still turns, so the door still opens, and everything seems fine until the roller seizes or the stem wears through the bracket. By then the noise has been building for months. This checklist is built to catch those failures while they’re still cheap to fix. The goal is to know what a worn part looks like, so you can spot the early stage instead of the late one.
The Quarterly Walkaround: Pass/Fail Checklist
Set aside 20 minutes each quarter and work through these steps in order. Everything is done with the door closed unless a step says otherwise, and nothing here requires tools beyond a screwdriver and a rag. If any step fails, stop and note it. Some failures need a professional, and we’ll say which ones.
- Listen before you look. Open and close the door once and listen. A healthy door is quiet and steady. A grinding, scraping or popping noise means something is binding or worn; note where the sound comes from. Pass: steady, quiet operation. Fail: any grinding or scraping.
- Watch the travel. The door should move evenly from the first inch to the last. If one side rises faster than the other, the door is out of balance or a cable is stretching. Pass: even travel. Fail: any tilt or hesitation.
- Test the balance. Close the door, then pull the manual release to disengage the opener. Lift the door halfway by hand and let go. A balanced door holds its position. A door that sinks means the springs have lost tension. Do not attempt to adjust the springs yourself. Pass: holds position. Fail: sinks or is heavy to lift.
- Check the hinges. With the door closed, look at each hinge along the sides. A hinge with a cracked leaf, a loose screw hole or a bent knuckle has failed. Pass: all hinges tight and straight. Fail: cracked, loose or bent.
- Inspect the rollers. Look at the rollers inside each hinge and at the top and bottom brackets. A working nylon roller is round and smooth. A worn one is flat-spotted, cracked, or turning with a wobble. A steel roller that has lost its ball bearings will scrape. Pass: round, smooth, quiet. Fail: flat spots, cracks, wobble or scraping.
- Look at the tracks. The vertical tracks should be straight and the horizontal tracks level. Run a rag along the inside of each track; it should come away clean. Dents, dings or a track that has pulled away from the wall are failures. Pass: straight, clean, secure. Fail: dents, misalignment or loose brackets.
- Check the cables and bottom brackets. With the door closed and the opener disengaged, look at the cable running down each side. It should be taut with no fraying, kinks or rust. The bottom bracket should be tight. Never touch a cable under tension. Pass: smooth, taut cable. Fail: any fray, kink or slack.
- Test the safety reverse. Place a roll of paper towels flat under the door and close it. The door should reverse on contact. Then wave an object in front of each photo-eye sensor; the door should not close while the beam is broken. Pass: reverses and sensors block. Fail: door keeps closing.
Any fail in steps 3, 4, 7 or 8 is a professional call. The balance test in step 3 is the one most homeowners skip, and it’s the most useful check on the list because it tells you the state of your springs before they fail. Our technicians have up to 13 years of experience, and the balance test is where we find the most “quiet” failures during a routine visit.
The Lubrication Spec: Which Product on Which Part
“Use lubricant” is not an instruction. Different parts of a garage door need different products, and using the wrong one can do real harm. Tracks, for instance, should never be greased: grease traps grit, the grit grinds the rollers, and you end up with a door that shudders and wears out faster. Here’s what we use and why.
- Springs (torsion and extension): white lithium grease, applied sparingly to the coils. It stays put in heat and damp, which matters here where summers are sticky. Wipe off any excess so it doesn’t collect dust.
- Hinges: a silicone-based or white lithium spray at each pivot point. One short spray per hinge is enough. Wipe the surrounding paint so drips don’t stain.
- Rollers: a few drops of silicone spray or a light oil on the bearing of each roller, not on the wheel itself. Nylon rollers take very little; overdosing them collects grit.
- Tracks: a dry rag only. Wipe the inside channel clean and leave it dry. No grease, no oil, no spray. If the track feels rough, clean it again; if it’s still rough, the track or rollers need replacing.
- Lock and handle (if the door has one): graphite powder in the keyway only. Never oil a lock cylinder; oil gummers the tumblers.
- Opener rail and chain (if chain-driven): a light chain lube designed for the job, or the manufacturer’s specified product. Belt-driven openers don’t need chain lube at all.
Lubricate every six months, or after you’ve done a quarterly check and found any part running dry. If you live near the Great Dismal Swamp edge of Chesapeake, where the humidity runs a notch higher, we’d suggest checking dryness every quarter and lubricating on the same schedule as the walkaround. The two jobs take about the same 20 minutes, and doing them together makes it easy to remember both.
Safety Cable Inspection: The Step Almost Every Checklist Skips
A torsion spring system is under enormous tension at all times, and the safety cable that runs through the spring is what keeps the spring from flying loose if it breaks. That’s the reason it exists: it’s a backup for a failure that can be violent. Most consumer maintenance checklists never mention it. If a torsion spring snaps, the cable is the part that holds the coil in place instead of letting it whip toward whatever is nearby.
You can inspect the safety cable safely with the door closed and the opener disengaged. What to look for:
- Fraying. Run your eyes from top to bottom of the cable. Any broken wire strands, even a few, are a fail. Frayed cables weaken and can snap under load.
- Kinks or bird-caging. A cable that has twisted or bunched is compromised. This is common near the drum on the side where the door works hardest.
- Rust. Surface rust you can wipe off is cosmetic. Deep pitting that feels rough to the touch is a fail; it’s the same kind of pitting that starts on the panels, and it shortens the life of the cable.
- Loose or missing retainers. The cable should be captured in the spring’s cable drum and the bottom bracket. Anything that looks out of place is worth a call.
- Slack. The cable should be taut. Slack means something is off in the spring or the drum. Don’t try to make it taut yourself.
One hard rule: never touch a safety cable, spring or bottom bracket while it’s under tension. Even with the door down, the system is loaded. A technician has the tools and the training to work with high-tension parts safely, and that’s the reason we don’t suggest DIY here. This is a “look and note” check, not a “fix it” check. When you call for garage door repair, the first thing a technician does on a torsion system is inspect the cable, because it’s the safety-critical part.
Chesapeake Humidity: Rust Creep, Bottom Seams, and Mold in the Weatherstripping
Two local items belong on any serious Chesapeake checklist, and neither shows up in generic guides. The first is rust creep at the bottom panel seams. The second is mold in the weatherstripping. Both come from the same source: the humidity that settles in around most Chesapeake homes from late spring into early fall.
Rust creep at bottom panel seams
The bottom panel of a steel door is where moisture collects. Rain splashes up from the driveway, and condensation forms on cool metal every warm morning. The seams where the panel is folded and painted are the weakest points in the finish. Check them with a rag and a flashlight. What you’re looking for:
- Pass: paint fully intact, seams show no bubbling or orange tint, and the metal feels smooth to a fingernail.
- Watch: a thin orange film inside the seam, or a paint bubble at the fold. This is the early stage. Clean with a damp rag, dry thoroughly, and touch up the paint with a color-matched touch-up from the door manufacturer. Watch the spot on your next quarterly check.
- Fail: rust that feels rough or crumbly when you run a fingernail over it, or metal showing through the paint. At this stage the panel’s protective layer has failed and the rust is working its way in. It’s worth a technician’s look, because on Clopay, Amarr and Wayne Dalton doors the repair options depend on which panel and which model you have.
Mold in the weatherstripping
The bottom seal and the side jambs are rubber or vinyl, and they hold moisture against the door frame. In Chesapeake, that’s an ideal place for mold to start, and once it’s in the seal, cleaning rarely gets it back to clean. Check for black or green speckling along the bottom seal, especially the fold where the seal meets the door. Pass: uniform color, flexible, wipes clean. Watch: speckling that wipes off with a damp rag and mild soap. Fail: discoloration that’s worked into the material, or a seal that’s stiff and cracked. A failed bottom seal is a cheap part and an easy swap, but it’s the reason a lot of Chesapeake doors let in water that then rusts the bottom panel. Replacing the seal every few years is cheaper than replacing the panel.
How to Log Results and Read the Trend
One check tells you the current state of your door. A log tells you where it’s heading. A cable that has three little frayed strands this quarter and four next quarter is telling you something. A balance test that held position last spring but sinks this fall is a signal the spring is weakening. The idea is to catch a gradual cable fray before it becomes a sudden failure.
You don’t need an app. A notes file on your phone or a sheet on the fridge works fine. Log the date and the result for each item, using the same labels the checklist uses. Here’s the format we suggest:
- Date and season. Write “Fall 2026” or the exact date. Seasonal notes make the pattern easier to see.
- Result for each step. Pass, Watch or Fail. Anything that’s Watch gets a short note like “cable: 2 strands frayed near top drum.”
- Photo of the Watch items. A phone photo of the fray or the paint bubble, taken the same way each time, lets you compare side by side. Most phone cameras are good enough for this.
- Action taken. Wiped the seam, replaced the bottom seal, called a technician, no action.
After two or three entries, patterns start showing up. Repeated Watch entries on the same part mean it’s time to act. Repeated Watch entries that improve mean your cleanup worked. When you call a technician, the log is genuinely useful: it tells them which parts have been trending in the wrong direction, so they can inspect those first. Three years of quarterly entries is a short history that can save a lot of guesswork later.
Opener and Sensor Checks by Brand
An opener is a small computer with a motor, and most of them give plenty of warning before they quit. LiftrMaster and Chamberlain openers share a lot of parts and a lot of their error codes, so a technician who knows one usually knows the other. Genie units have some quirks of their own, particularly around the travel-limit adjustments. A good maintenance check catches the small stuff before it becomes an opener failure.
Add these to the walkaround once a quarter:
- Photo-eye alignment. Both sensors should have a solid light (usually green on one side, green or amber on the other). If one is flickering, wipe the lens and check that nothing blocks it. Flickering sensors are the number one cause of “my door won’t close.”
- Force setting. Open and close the door with a broom handle held flat on the floor. The door should reverse on contact. If it pushes down on the broom, the force setting needs adjusting; that’s a technician call on most units.
- Remotes and keypad. Change the opener’s remote batteries on the same quarter you log the walkaround. If a remote stops working, replace the battery before assuming the opener is at fault.
- Wall button. Press it with the opener off. The door should travel smoothly and stop where it’s supposed to. A wall button that only works sometimes usually means a loose wire, not a dead opener.
- Noise. A belt-drive opener should be near silent. A chain-drive opener makes some noise; a new grinding noise is a warning sign. Note which brand you have (LiftMaster, Chamberlain and Genie are the most common here) so the tech can bring the right parts.
If any of these fail, we’d call it for garage door opener repair rather than a replacement. Most opener problems are a sensor, a gear or a battery, not a dead unit. We work on all of the common brands, and diagnosis by brand quirks means fewer return visits than a generalist would chalk up.
Repair vs. Replace: What the Checklist Tells You
The log answers the big question better than a salesperson can. When you see a door where quarterly entries show one component trending toward failure at a time, the fixes are usually individual repairs. When the entries start piling up, you’re looking at a replacement.
Here’s the rough rule we use. A door that passes every walkaround step but has one Watch item is a repair. A door that fails two or three categories at once, especially if the panels themselves are rusting at the seams, is a replacement conversation. The door’s age, the state of the panels and the total of the pending repairs decide it, not a single failure. For a door with structural rust at the seams, a damaged panel, or a combination of a failing opener and worn hardware, a full new-door install is often the more economical path.
If that’s where you land, we’d say this is the point to look at garage door installation rather than another round of repairs. It’s a scheduled job, not an emergency one; the right approach is a free measure at your home, a written quote with the model and options spelled out, and a scheduled install day. The written estimate sets the price, and no work starts until you’ve agreed to it.
Common Mistakes to Avoid
- Greasing the tracks. This is the single most common mistake we see. Grease turns the track into a magnet for grit, and the grit grinds the rollers and the track itself. Tracks stay dry.
- Adjusting the springs yourself. High-tension springs are dangerous. A homeowner with a wrench and a YouTube video can seriously injure themselves, and this is one checklist item where the answer is always “call a technician.”
- Skipping the balance test. The balance test tells you more about the springs than anything else on the list, and it takes less than a minute. Skip it and you’re flying blind on the most expensive wear item on the door.
- Ignoring the weatherstripping. In Chesapeake, a stiff bottom seal lets water sit against the bottom panel. Skip the seal and the rust starts in a place that’s hard to fix.
- Replacing sensors without checking alignment. A sensor that won’t close the door is usually out of alignment or dirty, not broken. Clean and adjust first; replace only if that fails.
- Using WD-40 on hinges and springs. WD-40 is a solvent, not a long-term lubricant. It dries out and leaves parts running dry. Use the spec above.
- Not writing anything down. A one-off check catches today’s problem. A log catches the trend, which is where the real savings are.
See the difference
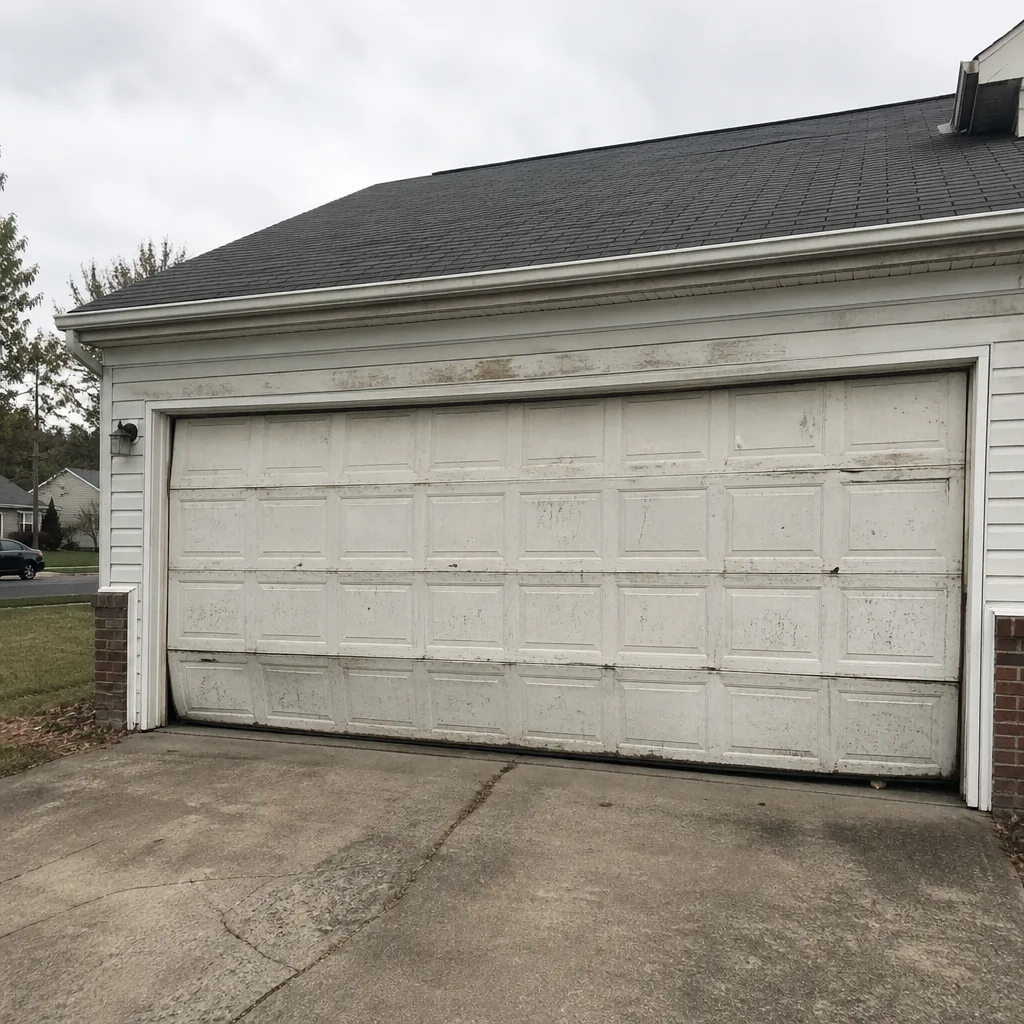 Before
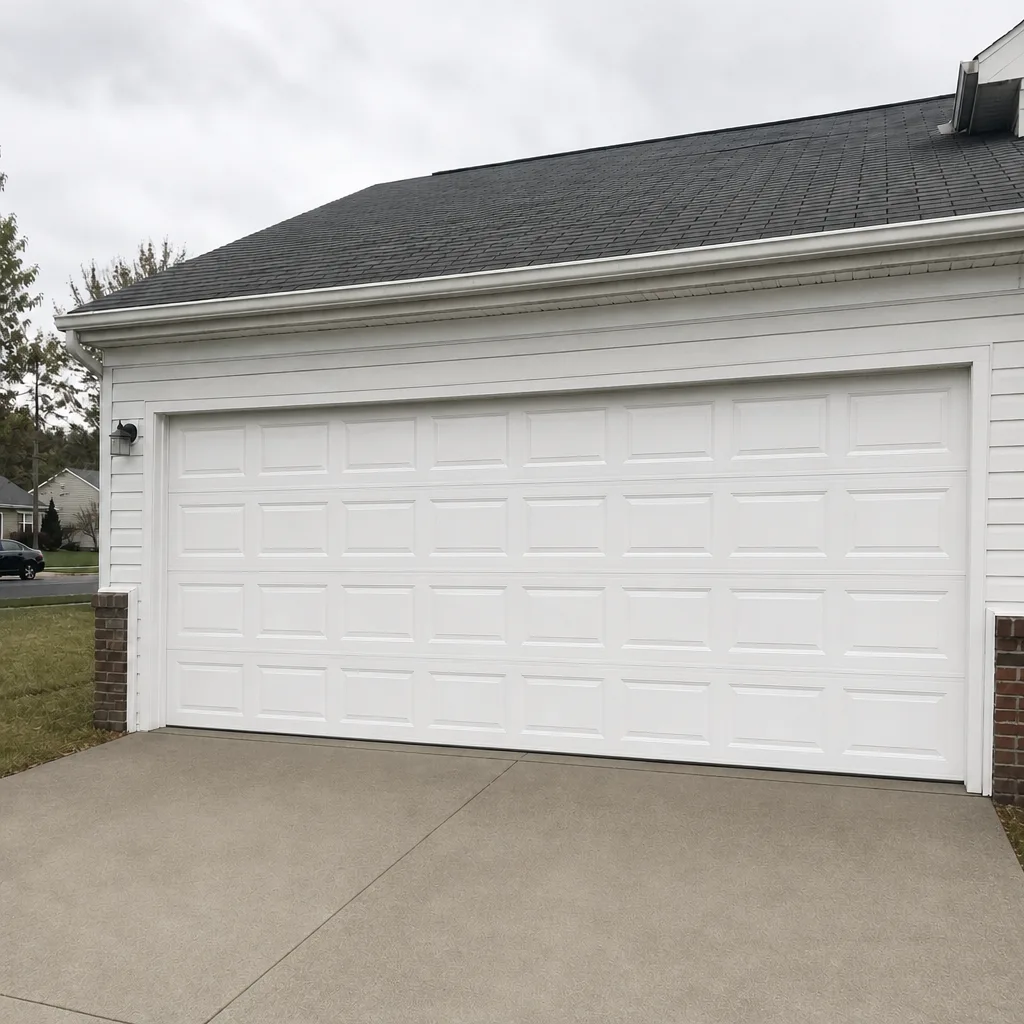 After
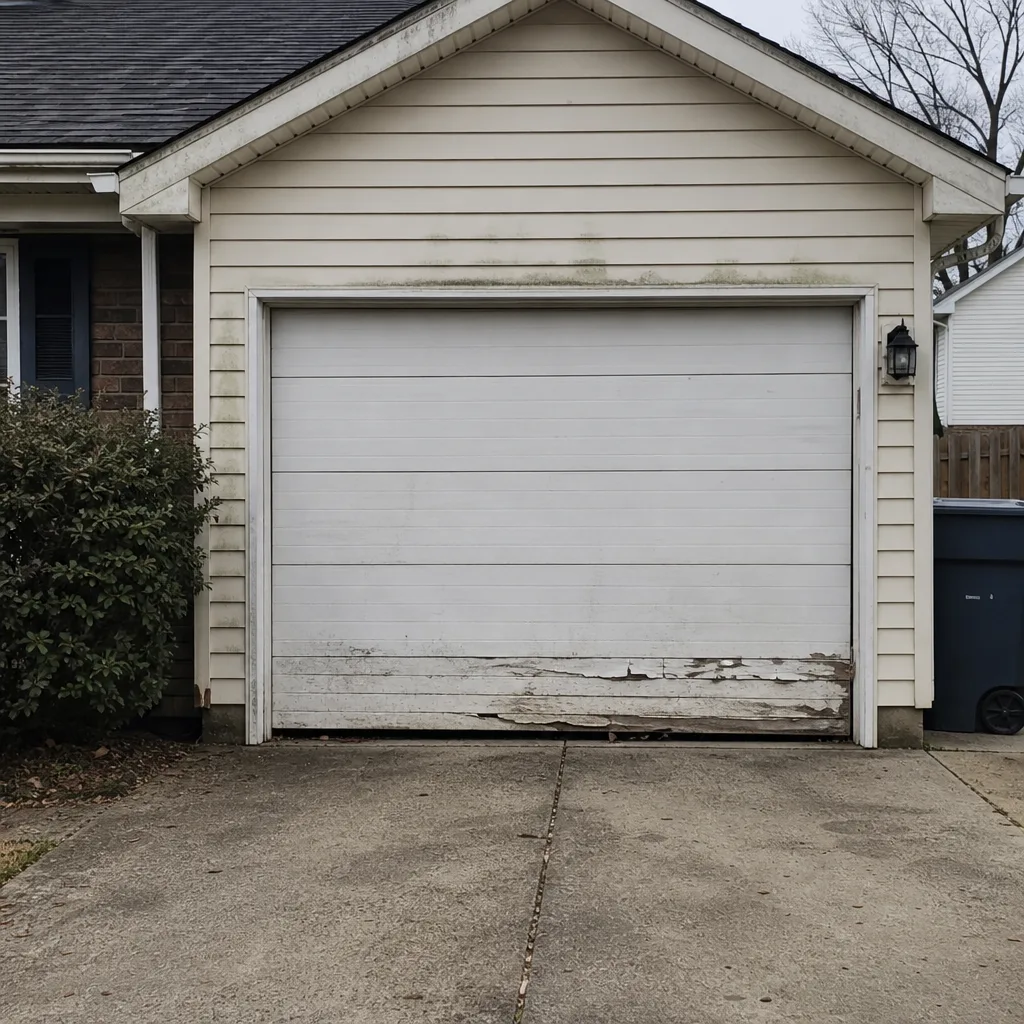 Before
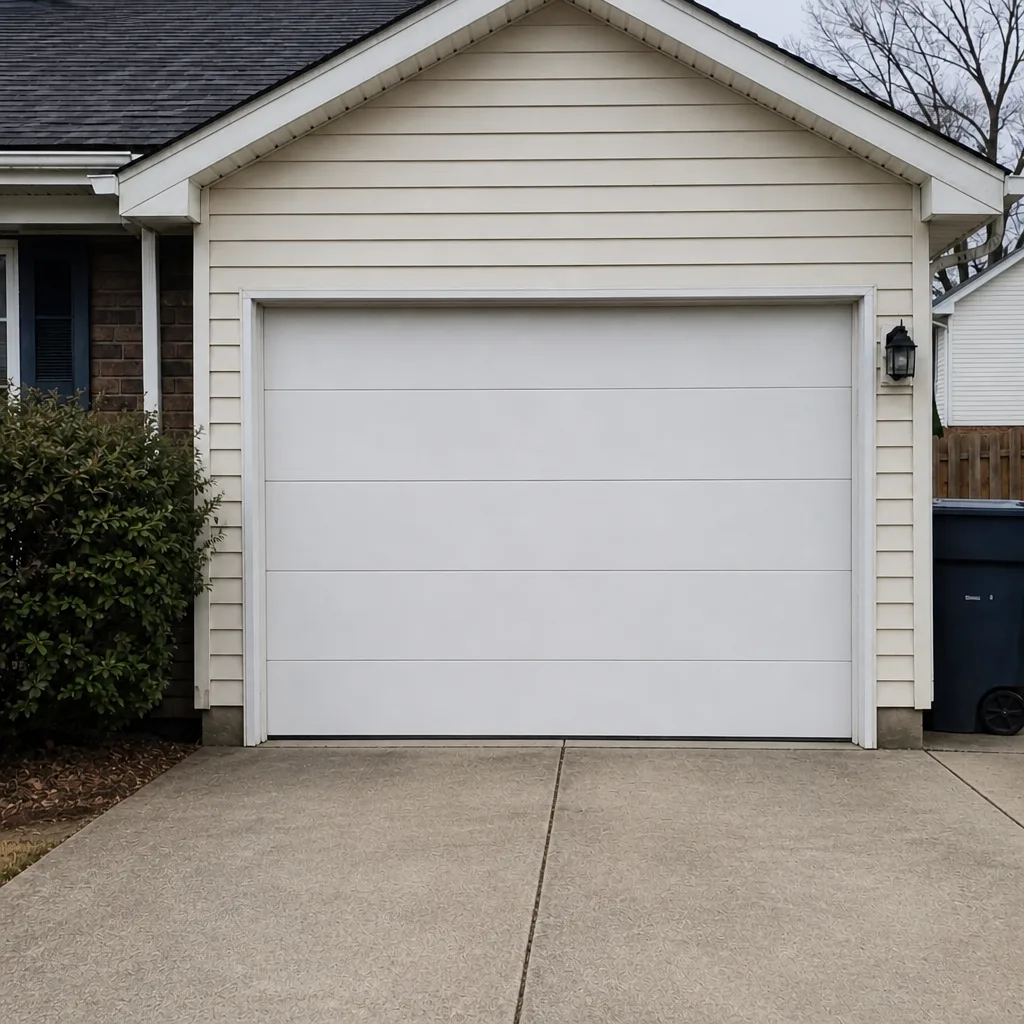 After
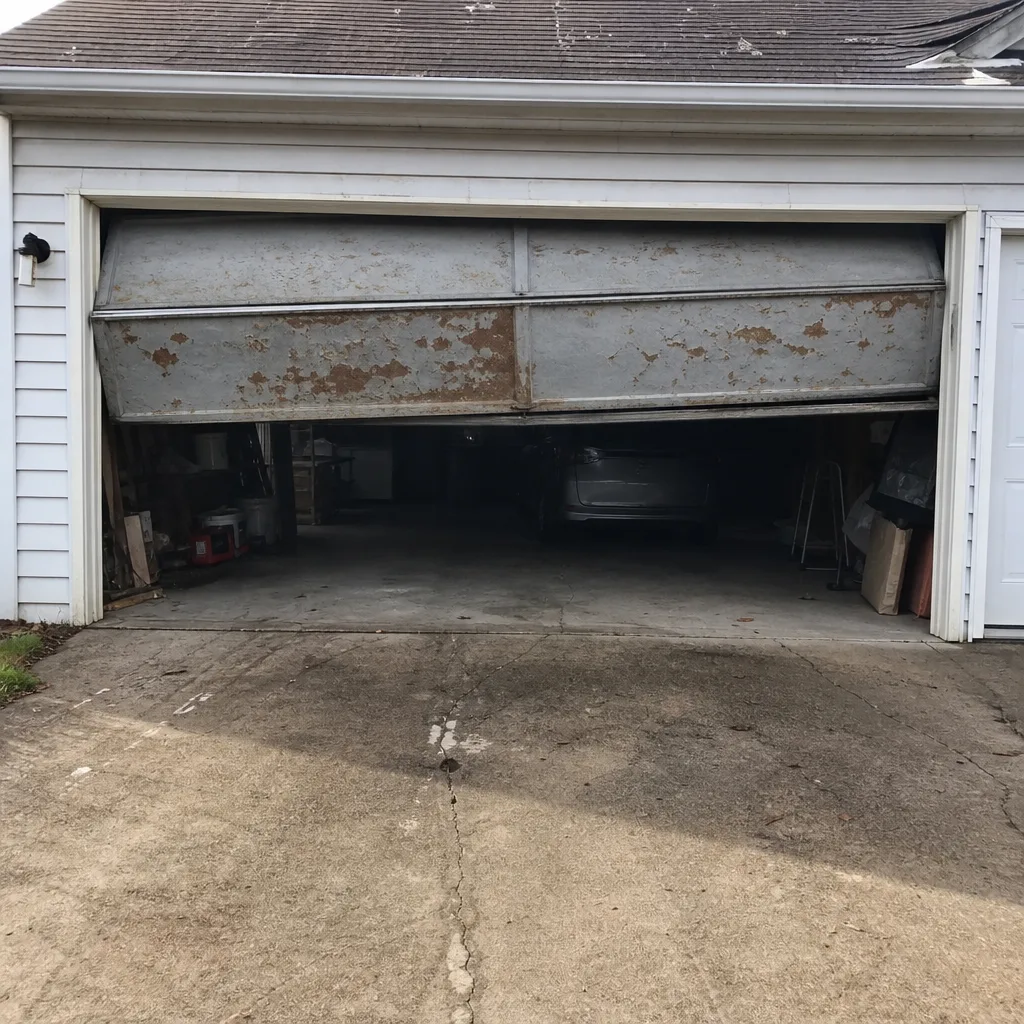 Before
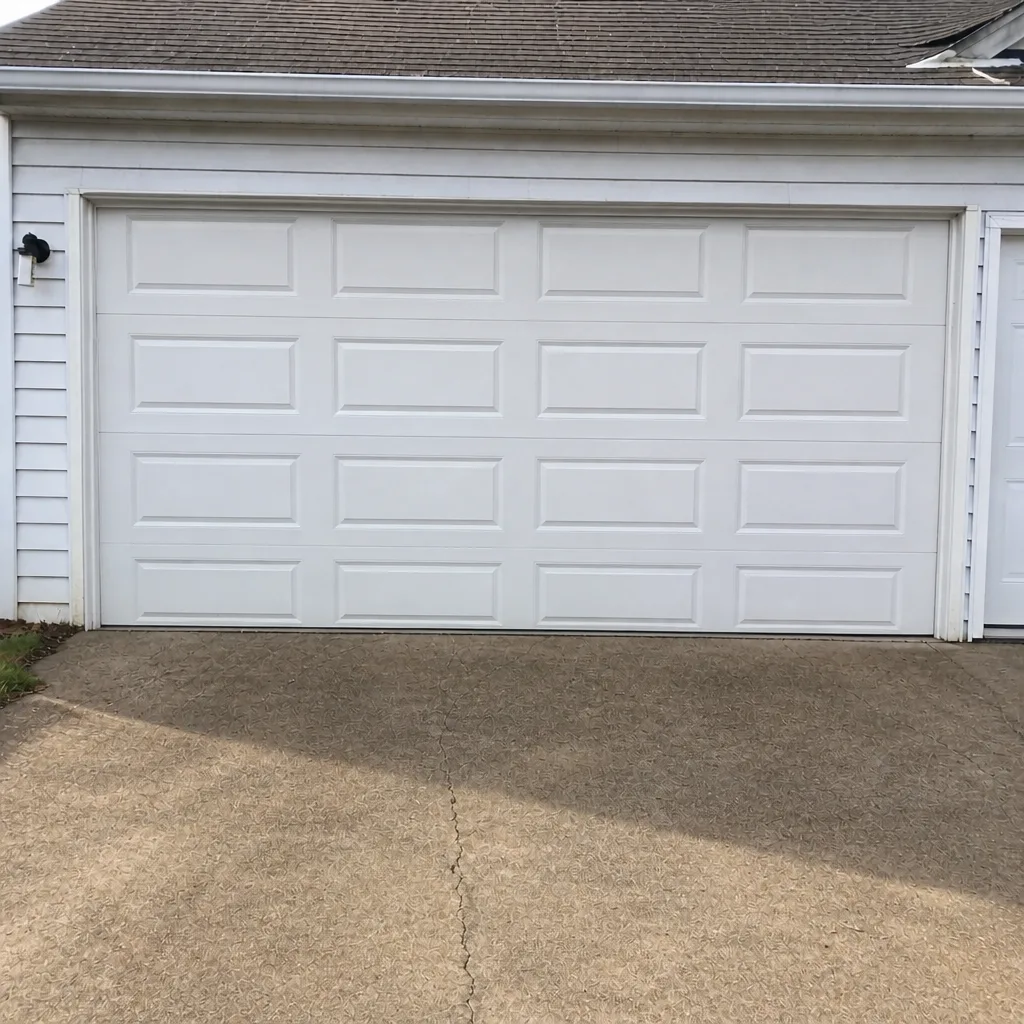 After
When to Call a Professional
Call a trained technician if any of these show up on your checklist: a failed balance test, any frayed or kinked safety cable, a door that doesn’t reverse on contact, a cracked or bent hinge, a spring that looks deformed, or a bottom panel that has rusted through the paint. Also call if your door is more than a few years old and you haven’t had a professional look at it; some spring and cable wear is hard to see from the ground. Chesapeake Garage Door Repair Pros offers free estimates in Chesapeake, and our technicians have up to 13 years of experience with springs, cables, openers and doors from LiftMaster, Chamberlain, Genie, Clopay and the other major brands. Call (866) 834-6826. Emergency service is available for doors that won’t close or that are stuck open, because a door that’s open is a door that isn’t securing the house. From Chesapeake Garage Door Repair Pros to a new door, it’s a single-trade call: garage doors only.
Frequently Asked Questions
Do the full walkaround every quarter and lubricate every six months. In Chesapeake, where humidity runs high through summer, quarterly checks catch the rust creep and mold issues before they turn into panel or seal replacements. Set a reminder for the first day of each season and the job takes about 20 minutes.
A worn roller is flat-spotted, cracked or turning with a visible wobble. A failed roller has lost its round shape entirely or is scraping inside the hinge. A working roller is round, smooth and quiet. If you’re not sure, run the door and listen: a roller that shrieks or grinds has failed. A technician can check all the rollers on a single visit; call (866) 834-6826 for a free estimate.
No. Torsion and extension springs are under high tension even when the door is closed, and adjusting them without the right tools and training can cause serious injury. This is the one part of the checklist we always say not to touch. Leave the springs to a technician; the rest of the checklist is safe for a homeowner.
Wipe the bottom seams dry after rain, touch up paint the moment it bubbles, and keep the bottom seal in good condition so water doesn’t sit against the panel. Rust creep at the seams is common here because of the humidity, and catching it at the early “orange film” stage is what saves the panel. If you see deep, rough rust, call a technician to look at the panel options. Free estimates are available at (866) 834-6826.
A door that has worn down quietly over months, usually with an overworked spring, dry hinges, and a bottom seal that should have been replaced a year earlier. Rarely a single dramatic failure. That’s exactly what the quarterly checklist is built to catch, and it’s the reason we put the balance test first.
Stop using the opener until it’s fixed. A door that doesn’t reverse on contact is a safety failure, especially in a home with kids or pets. The usual cause is a misaligned or dirty photo-eye sensor, but the force setting can also be off. If cleaning the sensors doesn’t fix it, call (866) 834-6826; we can typically diagnose it at a free estimate.
The Bottom Line
A quarterly checklist is the cheapest maintenance you can do on a garage door, and it’s the reason most of the repair calls we get in Chesapeake could have been a much smaller job. Do the walkaround every three months, lubricate every six, log the results in a notes file, and pay special attention to the three local items: rust creep at the bottom seams, mold in the weatherstripping, and a sagging or sinking door on the balance test. Anything that fails a safety item is a professional call, not a project. Keep the log, read the trend, and you’ll catch most failures while they’re still cheap to fix.
Free estimates in Chesapeake: call (866) 834-6826. Whether you need a spring repair, an opener diagnosis, or a full assessment before a new door, our technicians have up to 13 years of experience and a single-trade focus. We quote before any work starts, and the written estimate is the price.
Written by the team at Chesapeake Garage Door Repair Pros.